DIY – Photo Backdrop

Over the passed few months i have been looking at all the options for photography Portrait backdrops. Like most things there are lots of options and range in price.

As i like to try things out before spending an arm and a leg on kit, i searched for tips and ideas of DIY backdrops. i found a brief note on a forum about using a roller blind as a backdrop, this was a good idea as you can pick up a wide roller blind for about £20. Also most are wipe clean and the blackout type are thick and provide a good base and all can be wall mounted if required.

0327098_l


The disadvantage of a  standard shop roller blind is the length is only around 160cm, this is fine for Baby,Toddler and small child as you can have them sitting up standing up.


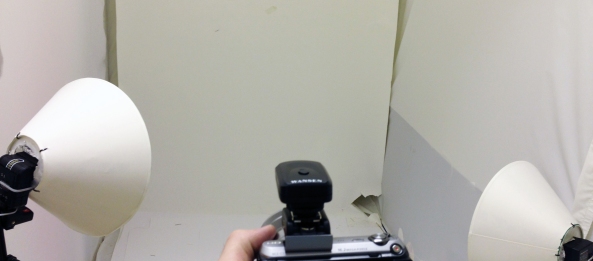
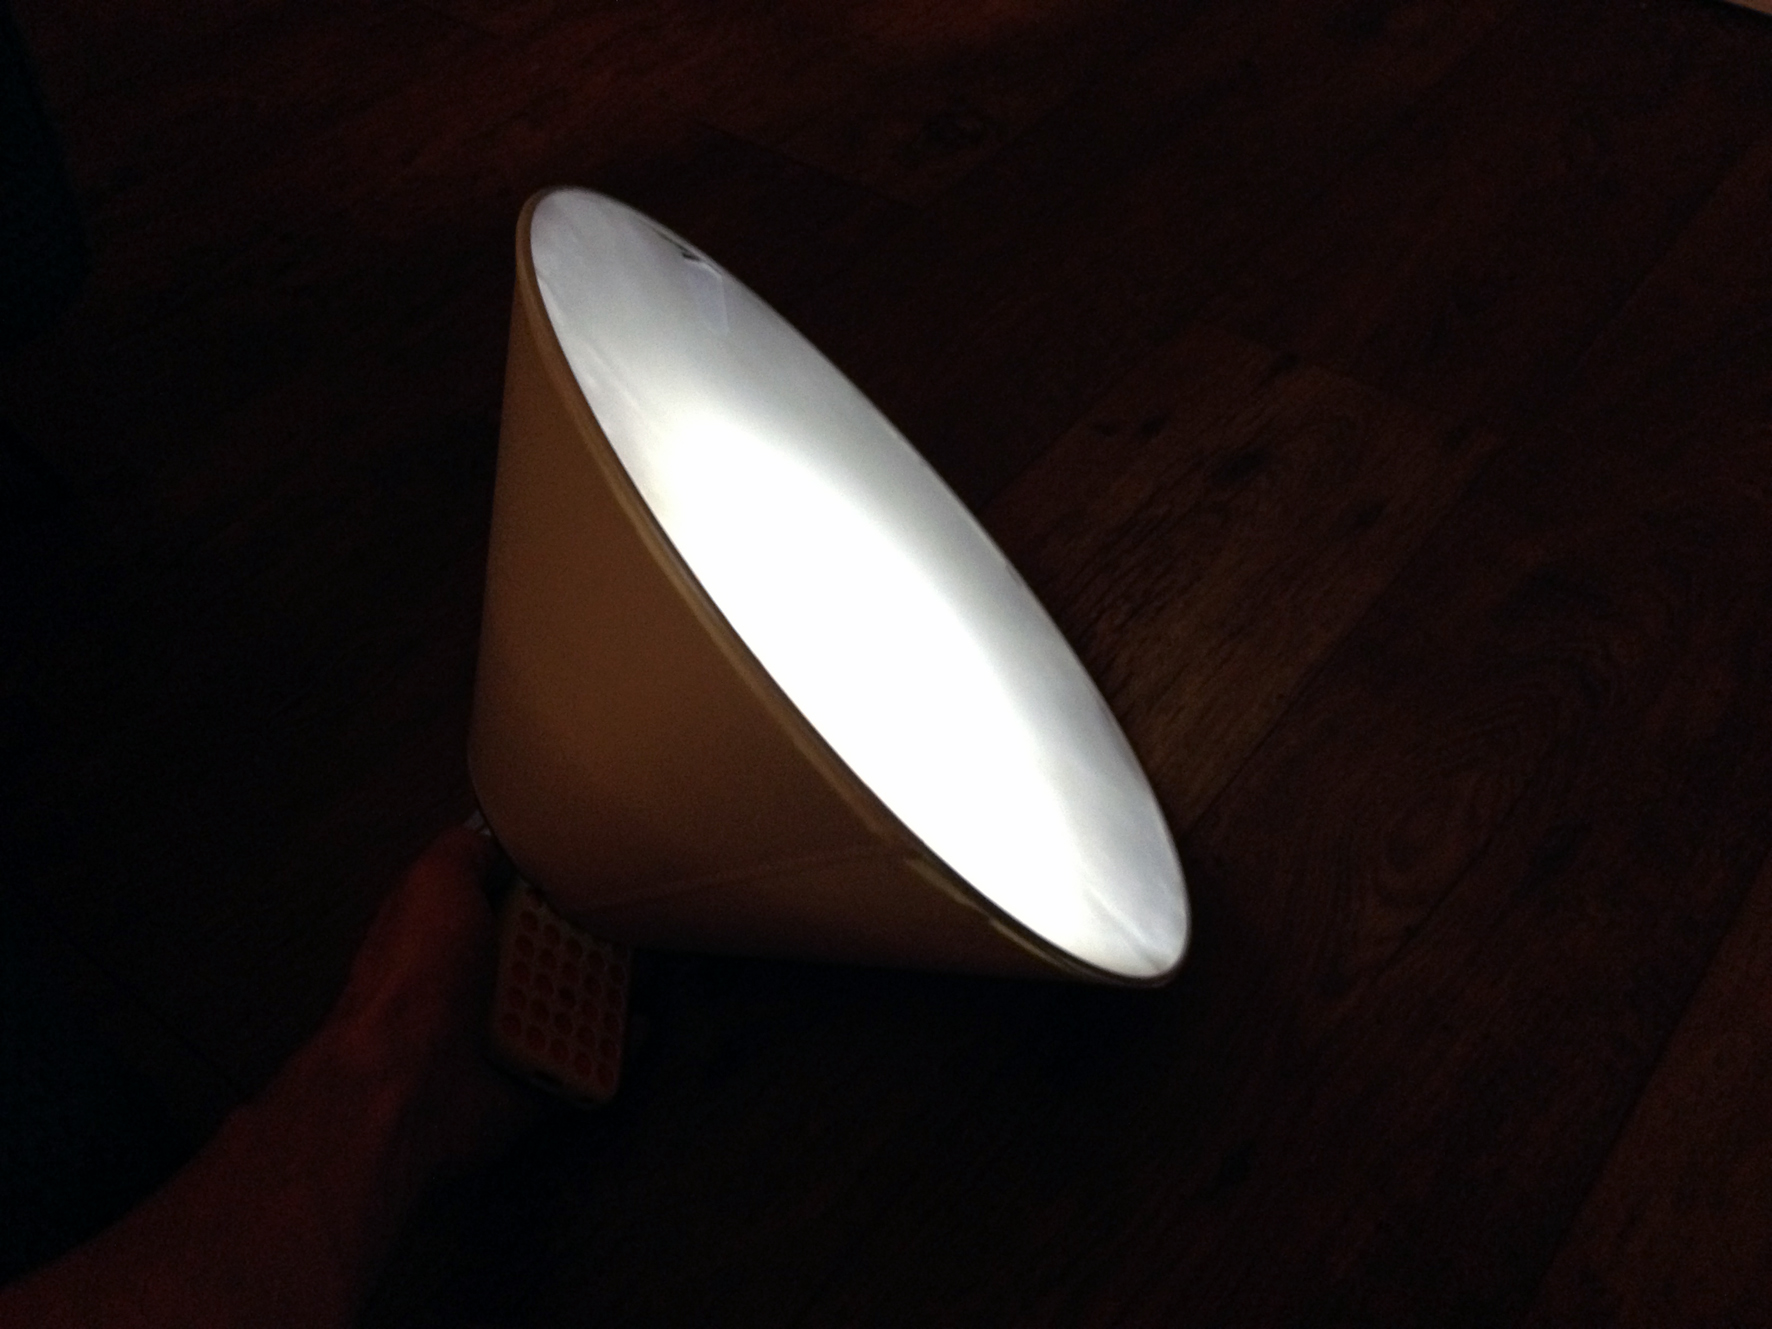
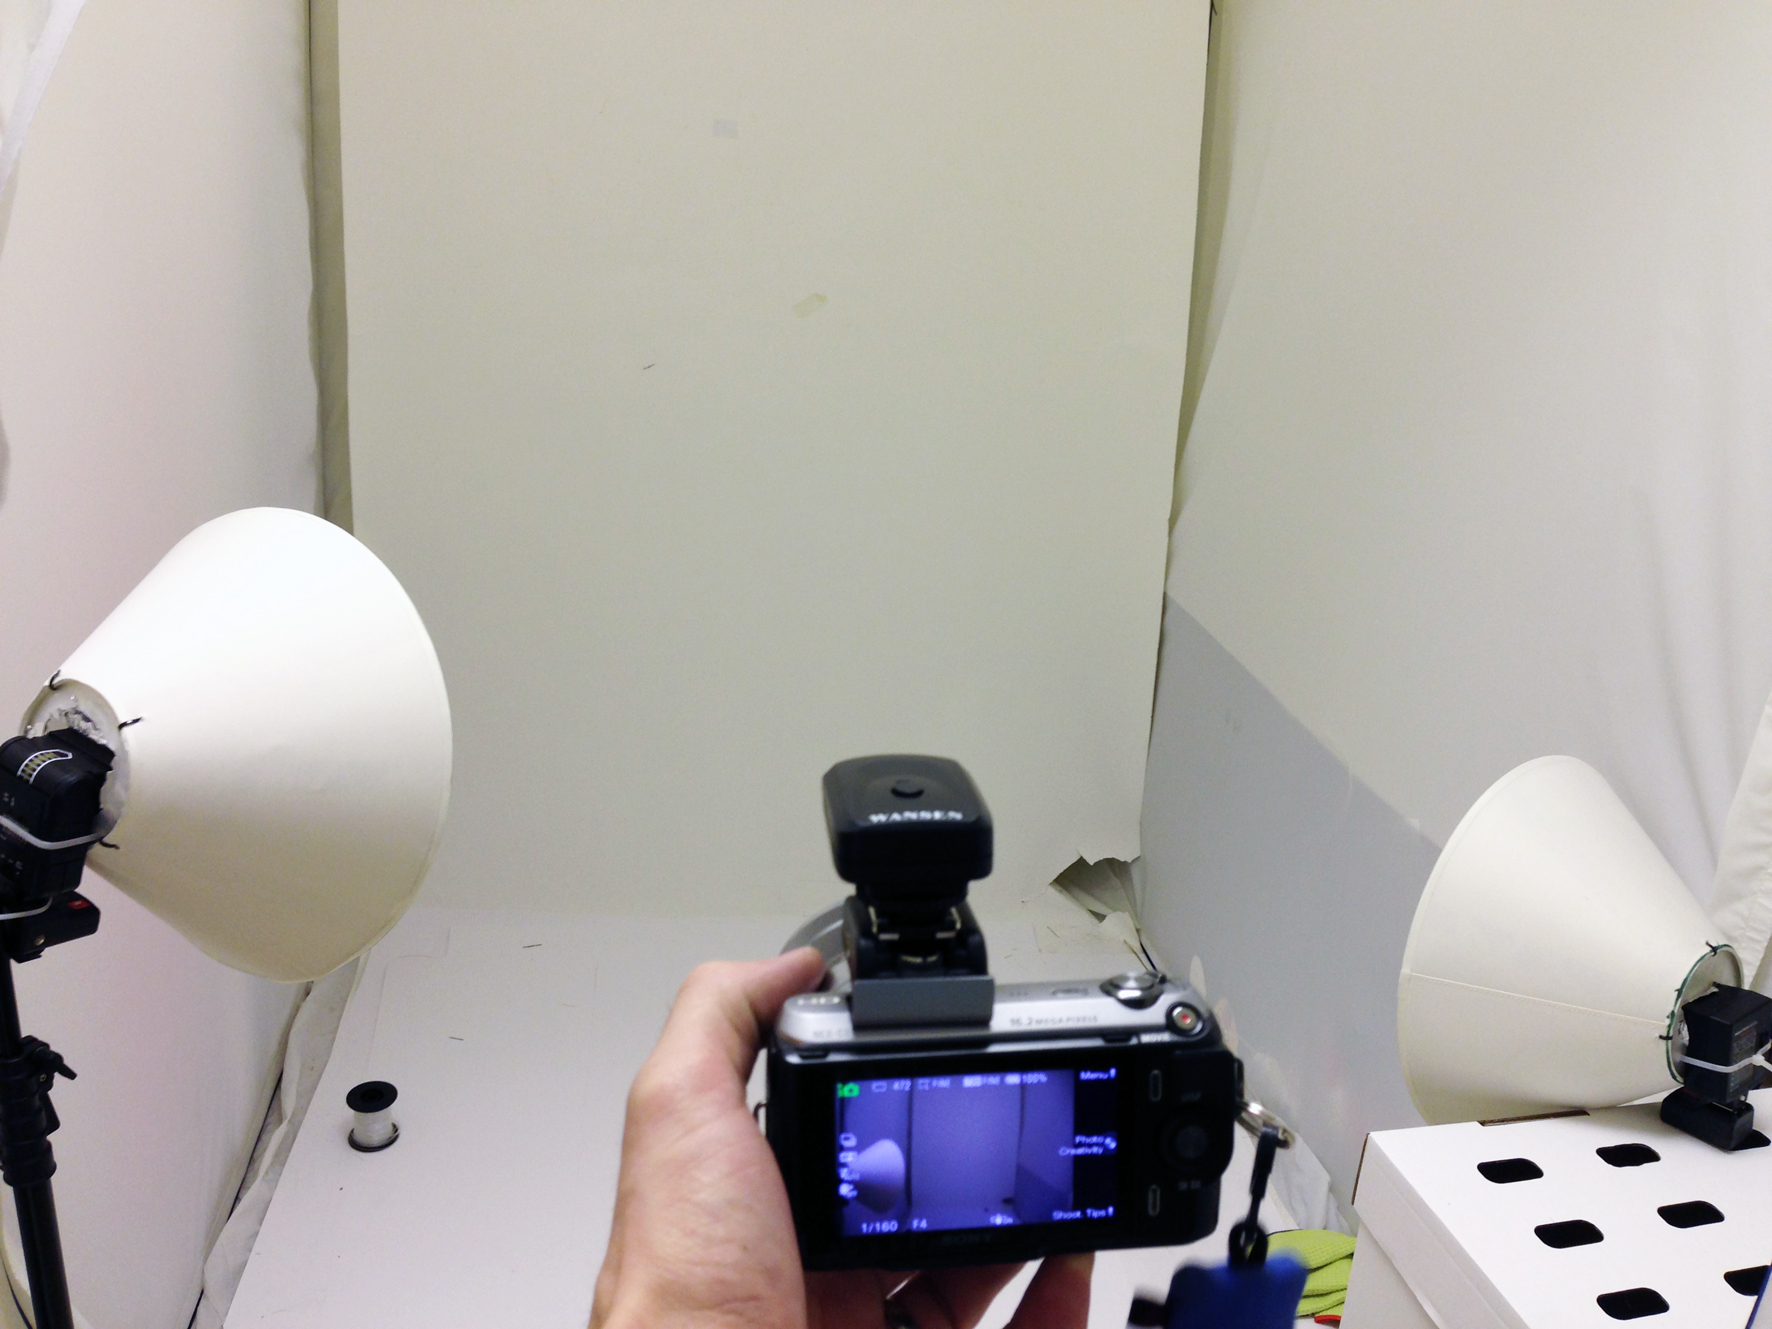
Here are some very quick image i took while setting up, (i did not have my camera to hand so used a Iphone). as you can see you will need to find the correct height and position where you do not get the blind starting to fold.

IMG_3021 IMG_3019 IMG_3010

This is a good and cheap thing to try out if you are starting out in Portrait Photography.

retro-camera-uk-header-01.jpg

DIY Softbox – Lamp Shades

Here is how i made my Lamp Shade Softboxes,

IMG_2856


I started off with 2 cheap lamp shades which i got from Wilkinsons (house and Diy Store). these cost £4 each and where the biggest size and cheapest ones. These are a nice size with the large part measuring at 360mm.

0119704_l

The items i used where:

Lampshades x2

double sided tape

kitchen Foil

Frosted Plastic Sheet (thin white card would work also)

Cable Ties


I started by drawing the circle ends, for the large end i have done 2 for each shade, one having a cut out so i can take it in and out and add paper between to soften the  light more if needed.

IMG_2853 IMG_2852

Attach the small circles to the small end with Cable ties by making small holes in the plastic and the shade.

Draw round the flash head and cut out hole with a sharp knife.

IMG_2849


next stick double sided tape in the inside of the shade, making sure that the tape goes close to the end to hold the foil in place.

IMG_2848

Use the kitchen foil to line the inside of the shade. This makes the light bounce off all angles and gives a wider lighting area.

IMG_2851


trim the extra foil with a knife, leave the metal rim free of foil as your plastic with clip in to this ring which will keep it in place.

IMG_2850


i have used cable ties to keep the flash guns in place but something you can undo would work better allowing you to take the flash gun in and out of the softbox.

IMG_2858 IMG_2854

Add a wireless trigger system (these can be got for £10-£15 off Ebay or Amazon) and these work well, so if you want to have a go at studio photography put don’t want to spend lots at the start. Try this simple idea with some cheap SLR Flash Guns. You can then get a feel and also work out how best to use them.

IMG_2863


retro-camera-uk-header-01.jpg


How to Modify 120 Film for a 620 Film Camera

Recently i have bought some 620 film which is 120 film re-spooled on to a 620 film spool. This film is not cheap as it ranges from £5 to £6, when 120 can range from £3 to £5. so i found how to make 120 film fit. my problem was i needed a 620 spool to take the film. so here is how i reduced a 120 spool to fit a 620 camera. (this can be done with 120 film to us in a 620 camera).

IMG_2799[1]IMG_2800[1]

So, what do you need?

  • a 120 spool (a roll of unexposed 120 film on a plastic spool)
  • a metal file, or coarse sandpaper
  • sharp scissors (nail scissors are good)
  • newspaper or something similar to protect your work space
  • about half an hour of spare time

IMG_2801[1]


It helps if you have a 620 spool (your old camera might have a blank take-up spool still left in it!), just to give you have something to compare your modified 120 spool with, but it’s not critical.

Start by putting down newspaper (or something similar) to protect your work surface – filing down the plastic creates a lot of really fine plastic dust, and it can get pretty dusty and messy.

IMG_2802[1]

Take your roll of 120 film, and starting on the flat end of the spool, just start filing! I prefer using a metal file, because I feel like I have a bit more control about the pressure and direction of my filing, but course sandpaper will work fine too.

IMG_2803[1]

Once this flat end has been thinned out enough, take the nail scissors and trim around the edges of the spool. You can use your file or sandpaper on the edges. I believe that some 620 cameras like the Brownie Hawkeye won’t require this step, as they can accommodate wider spools, but most will.


Then turn the film over, and file and trim the other end of the spool! It only takes me about half an hour to finish modifying a 120 spool film.


Once you think the edges have been filed down enough, take the roll to the nearest sink or outside, and blow and brush away any of the plastic dust that is still clinging to the spool/film. Try to get as much of the dust off your roll – you don’t want any dust getting in the way of your photos (or maybe you do – it might create some interesting effects…)

IMG_2804[1] IMG_2805[1]

Before you pack everything away, pop the modified film into your camera, and check that it turns freely and smoothly – you really don’t want to get two or three shots into your roll before you realise you haven’t filed the roll down far enough and it’s really too stiff to keep turning at all.


retro-camera-uk-header-01.jpg


DIY: Photostrips

IMG_2329

Photo strips are a simple and creative way to show your photos off.

I first pick out which photos you are going to use. You can try to make each strip have a “theme,” but I think that random ones would look just as good too.

In Photoshop, I made a “template” for the Photostrip.  I made the file 1.5 inches by 6 inches.  Because not every Instagram used the same filter (and subsequently frame), I also went ahead and made skinny strips of white for the borders.

Instant StripsInstant Strips 2

Can you see the white borders?  I created a square and duplicated the shape so it maintained the same width.
Once I had the template for the border, I just placed four of the photos onto the file.  I arranged each so it was under the border and in an interesting order.
Instant Strips 3
I repeated that process for the other strips and kept re-saving them.  I would just delete the pictures from before, add the new ones, and then click Save As.  Once all three strips were created, I made a new file.  This time, I made it 4.5 inches by 6.  I added all the other files into this one to I could be more efficient in the printing.  (You can definitely fit a lot more than three strips per page… Print landscape and add as many as you wish!)
Instant Strips 4IMG_2328
The next step is to cut them in to separate the strips.
IMG_2329
And there you go!  Fun photostrips!
What can you do with the photostrips?
IMG_2330
Give away at parties
Use as bookmarks
Hang on the wall
Write notes on the back
Make for presents
Article Sourced from www.thecollegeprepster.com
retro-camera-uk-header-01.jpg

Using 35mm in a Kodak Brownie

The great this about film cameras is you can always get the most out of them as they last years! The Kodak Box Brownie is one of my favorite old cameras as they are very simple to use and mad very well. the only thing is the 120 or 127 film is expensive to buy and develop. so after searching the internet i found a way to convert your brownie to use 35mm with out damaging the classic camera.

all you need is a few house hold items and a 35mm film which you can still buy on the high street or online.

Below How to from “Classic Cameras” Blog

“Using some scrap film I measured how many holes corresponded to the length of the negative.
In the present case 11cm = 26 holes, including spacing.
Then I needed a way of counting them, the best way is by ear.
For that purpose I taped a ring, from one of those large plastic binding combs, to the film canister, in a way that the pointing end of the ring was in the path of the sprocket holes.
When one turns the advancing knob, the hole passes in the end of the ring and a loud click is heard, just count them.

DSC_7097

The film: a Fujicolor 100 ISO, well expired.

I taped a generous piece of used film to the end of the film I was going to use, as a leader, placed the cartridge dead centre, under the metal flap, used to tension the 116 film, very handy in this case.
If your camera is different you may use pieces of Styrofoam, cardboard,… use your ingenuity.
Then I taped the film to the centre of the empty take-up 116 spool.

DSC_7098  DSC_7099

The film circuit was ready.

A very important step:

DSC_7100  DSC_7103

Cover the red window, on the back of the camera, with black gaffer tape, both inside and out, to avoid film fogging.

I closed the box advanced the 26 clicks of the length of the exposure and 20 more for safekeeping.”

Other Ways to modify

Kodak Brownie No2A from – “On The Process” Blog

 
Other Brownies to take 35mm
retro-camera-uk-header-01.jpg

Creating a Retro Look – Photo Editing

Just a quick one from me today, i was scanning the internet and cam across the cool fun website.

it is a simple photo editor but they still of it made me like it even more!

Untitled-1

you get different stages (just like really photo developing)

Garden Image


The developer stage

Untitled-3

Adding effects

Untitled-4

and the mounting stage.

Untitled-5Untitled-6 The gaden retro

this is great fun and only takes a few minutes, have a go and have fun! why do shoe us what you have done on our Flickr Page

Here is the link to the above website pixlr.com/o-matic

retro-camera-uk-header-01.jpg

Developing your film

Developing a film is one if the biggest parts to film photography. The age we live in has lots of different ways to get your shoots to kthe printing stage. Most large supermarkets still process film and give you different options on what media you to have your images i.e. Prints, On CD or just your negatives developed.

Another option is to hire a darkroom. There are a few round the country, i would say they are not cheap but it will let you understand the full film developing process and also the photo process. It’s great fun to do and nice to see the out come, as we may take it for granted these day with printers etc. click here to find one near you.

The final way is the DIY/ do it at home. You can develop your film at home with a few bits of kit. The kits can be got from online shops like eBay and Amazon. The price ranges from £30 – £75, which is not to bad and won’t break the bank. There are a few things that you would need to sort out before you go out and spend some money on one of these kits.

  1.  A place you can great a fully blacked out room, no light at all is allowed when processing film.
  2. Running water is needed during the processing, so a good supply is needed like a kitchen or bathroom.
  3. Take care, you will be working with different chemicals so gloves and goggles would be a good idea to protect your hands and eyes. Also a apron and old towels which can be placed in the bin afterwards.
  4. A bath thermometer. There are thermometers designed specifically for photo labs, but you can use a thermometer for a baby’s bath, that will work as well.

The kit you buy will have step by step instructions, but if you would like to read more about this try this good websites step by step – Click Here or try this one Click Here

retro-camera-uk-header-01.jpg