Here is how i made my Lamp Shade Softboxes,
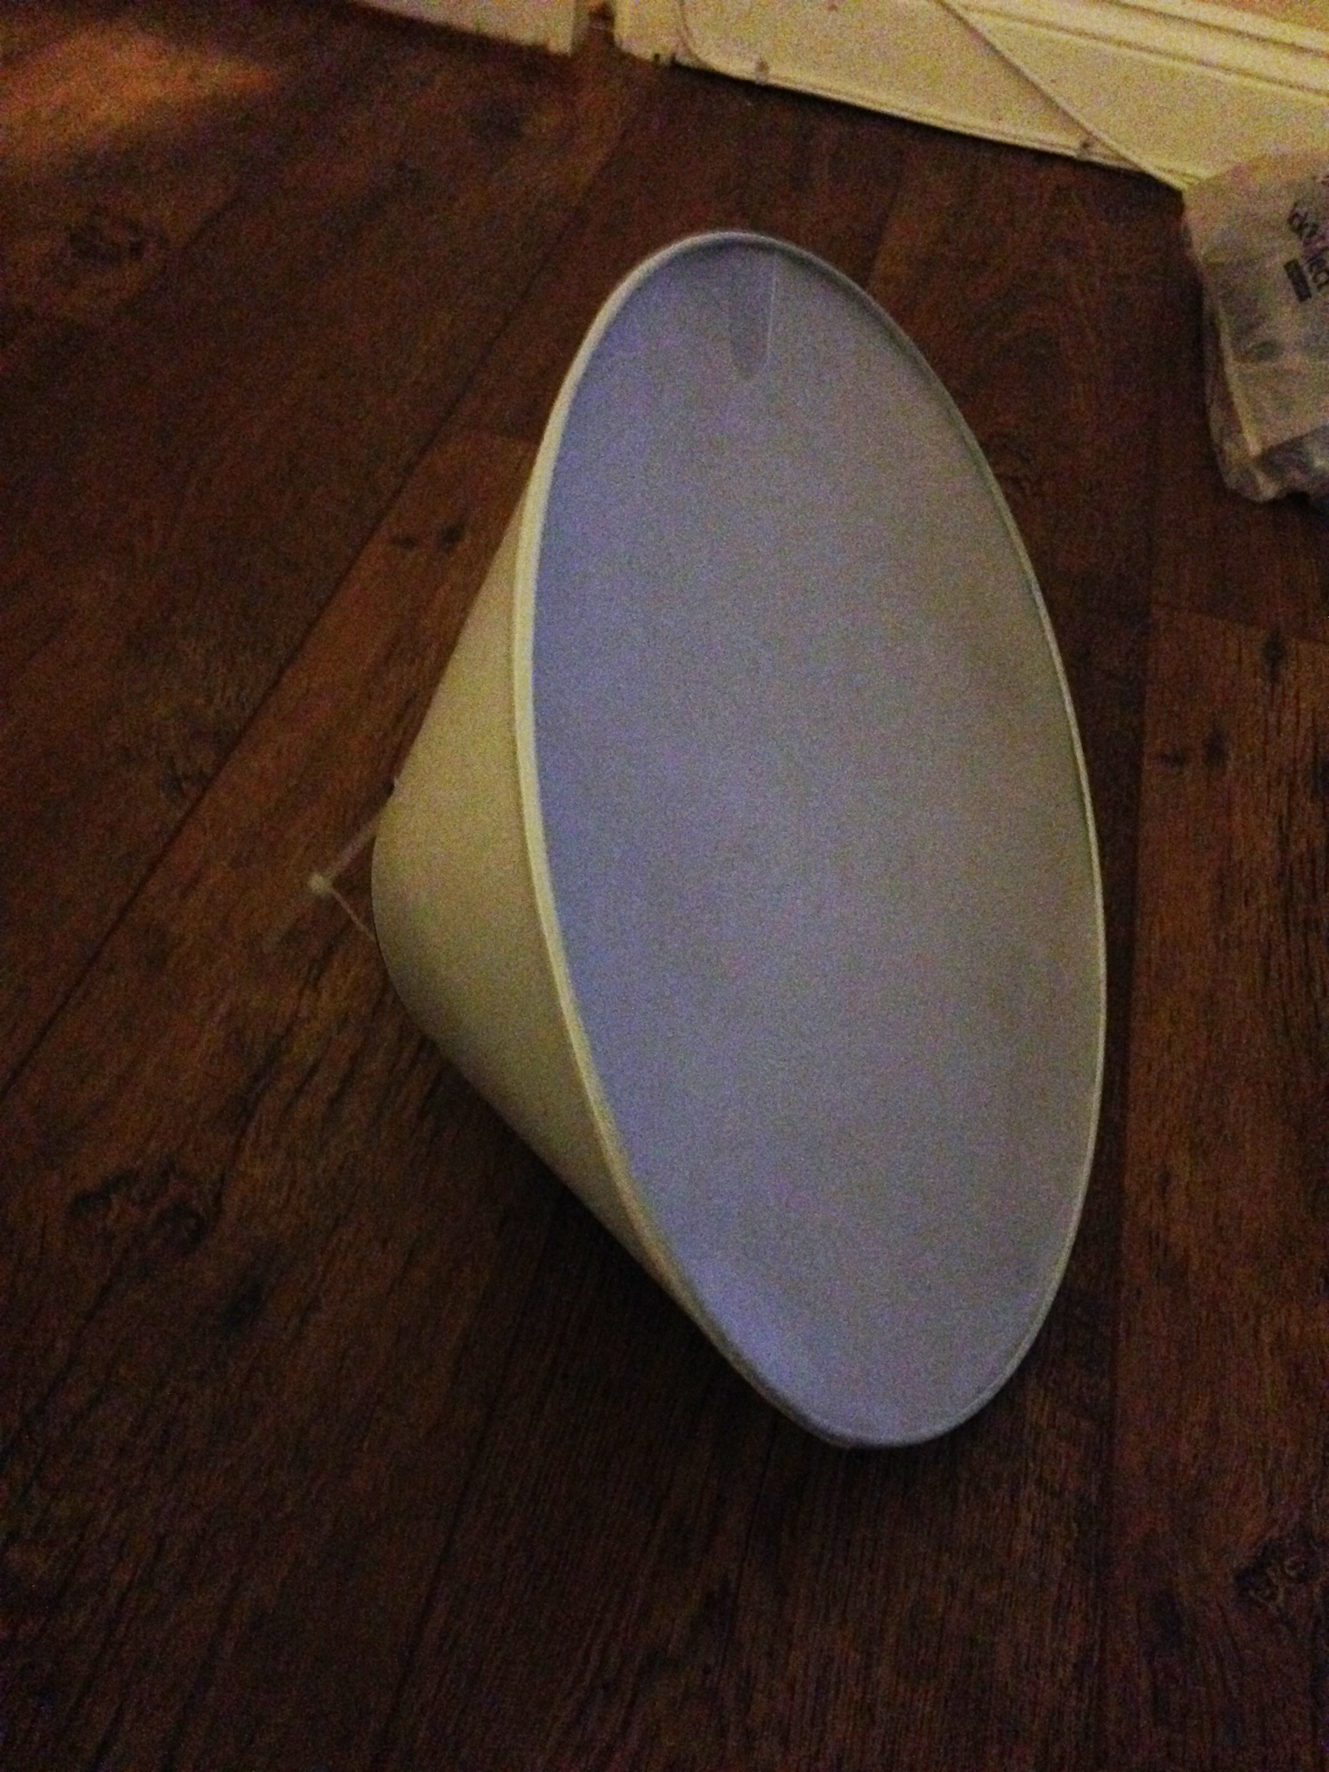
I started off with 2 cheap lamp shades which i got from Wilkinsons (house and Diy Store). these cost £4 each and where the biggest size and cheapest ones. These are a nice size with the large part measuring at 360mm.
The items i used where:
Lampshades x2
double sided tape
kitchen Foil
Frosted Plastic Sheet (thin white card would work also)
Cable Ties
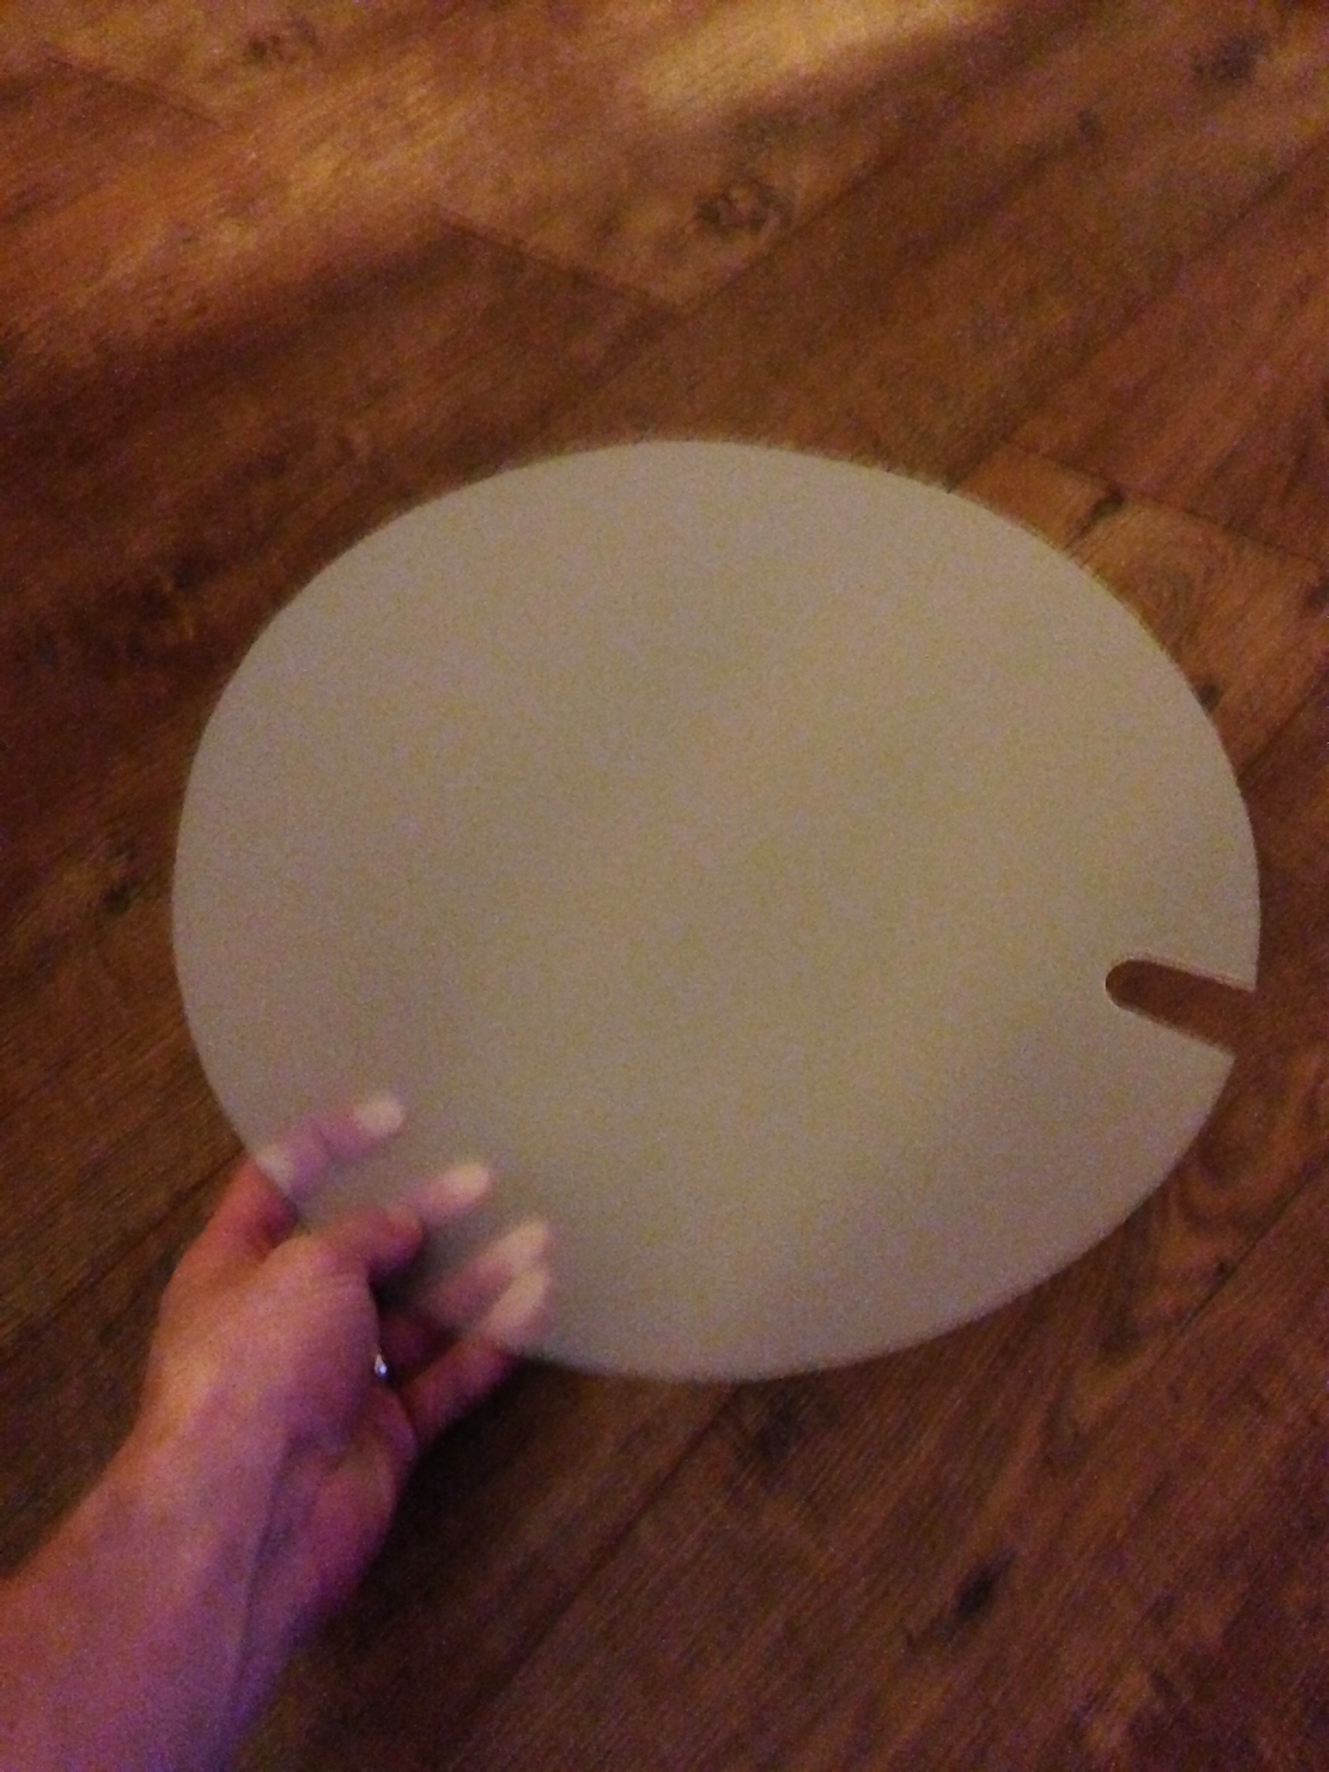
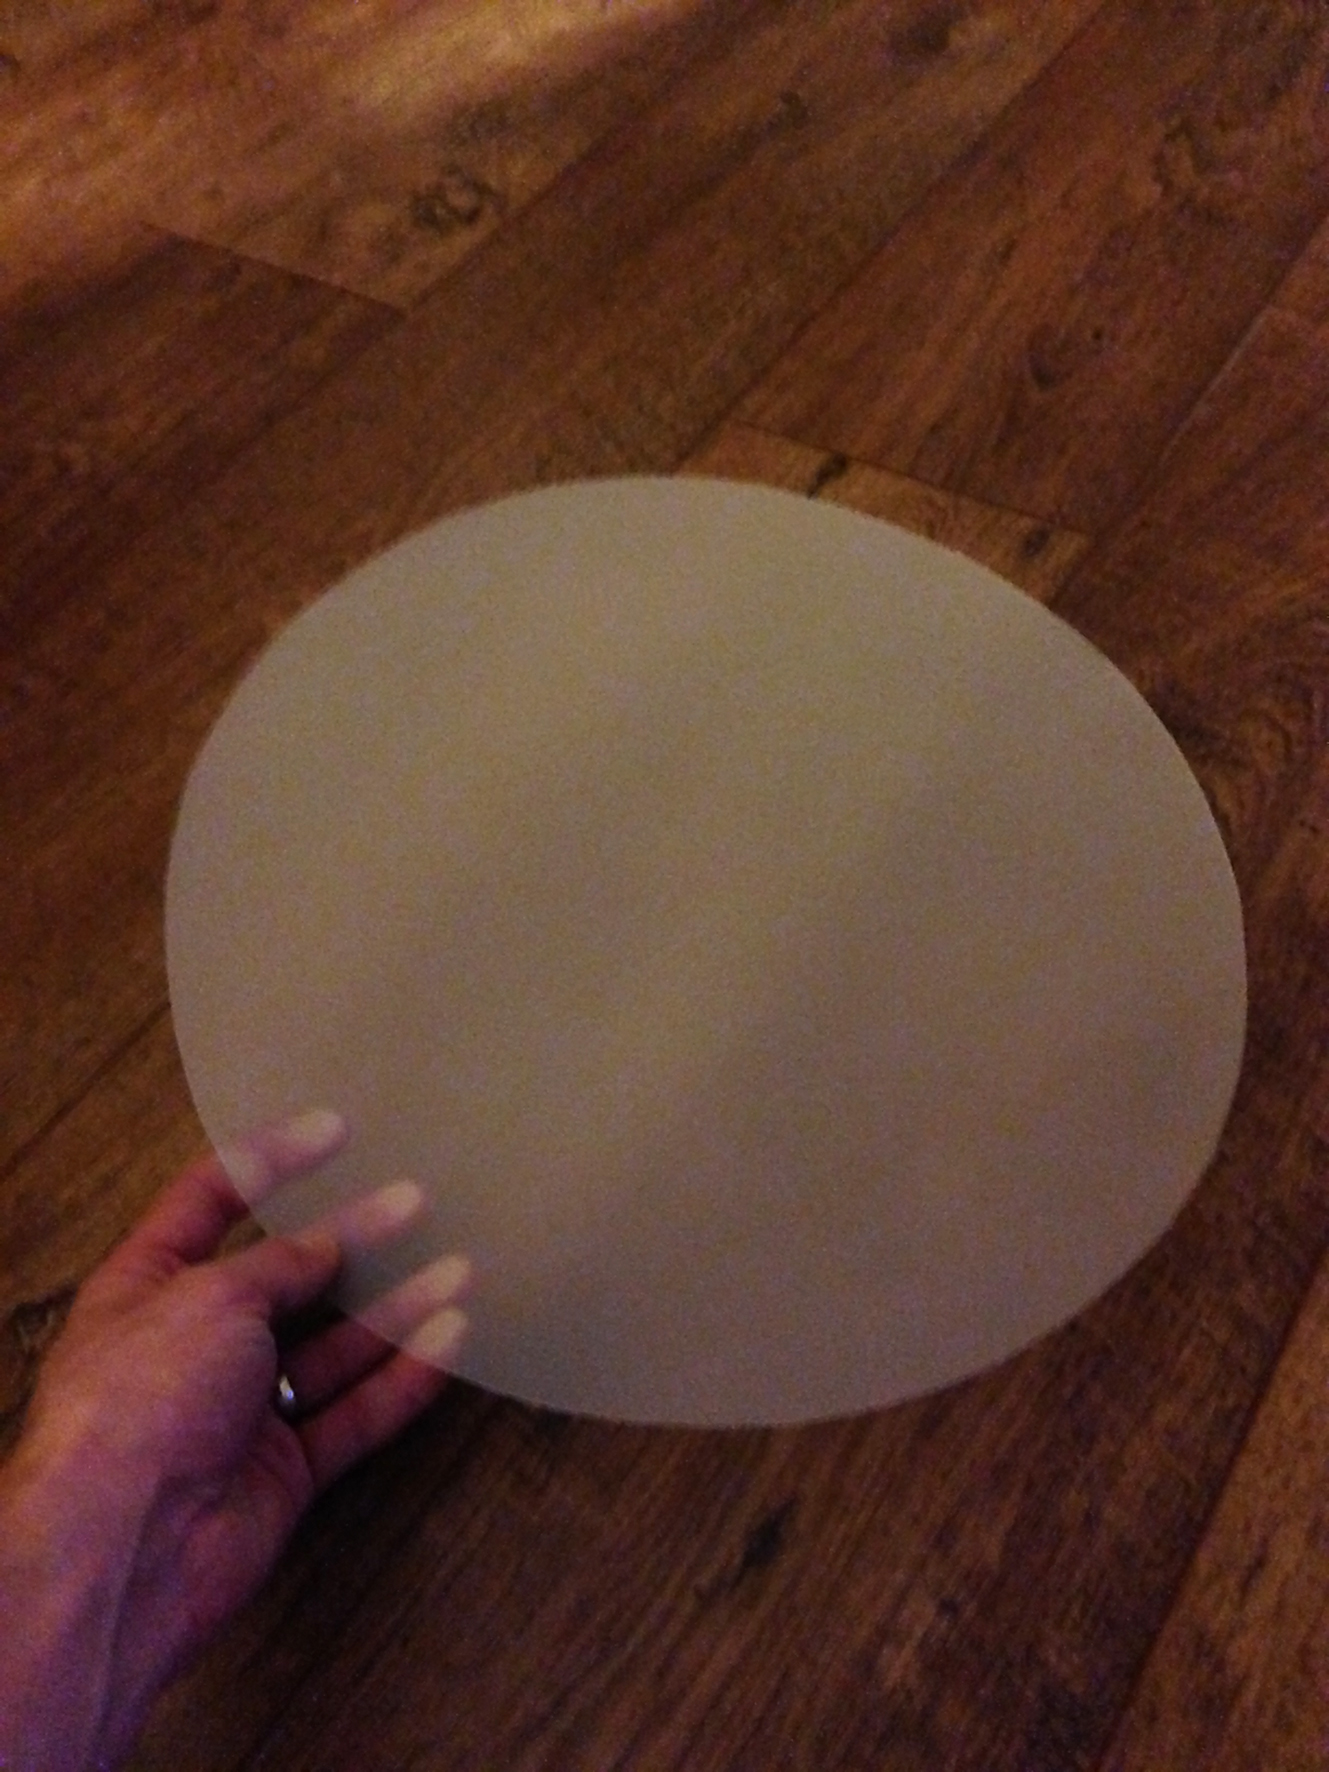
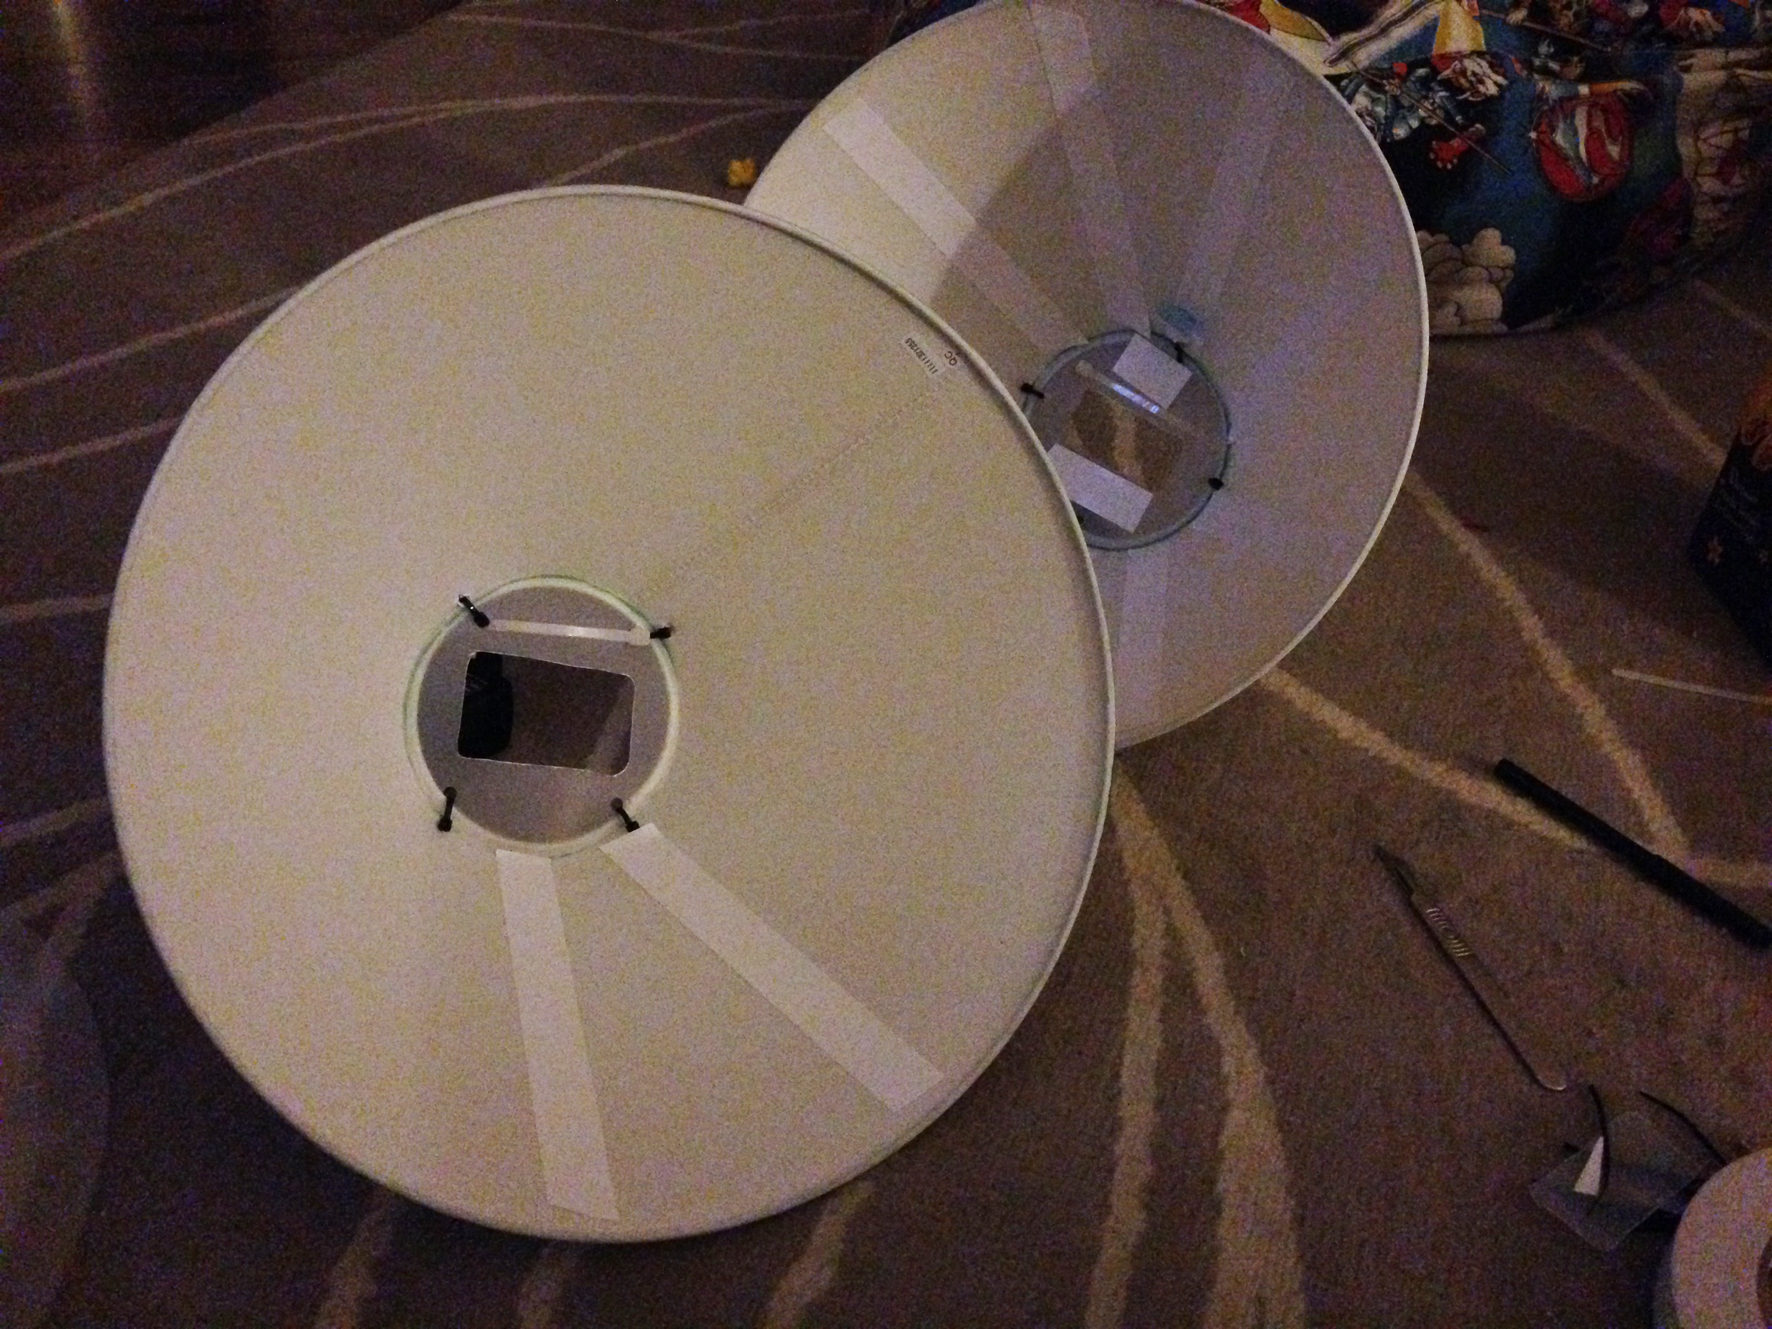
I started by drawing the circle ends, for the large end i have done 2 for each shade, one having a cut out so i can take it in and out and add paper between to soften the light more if needed.
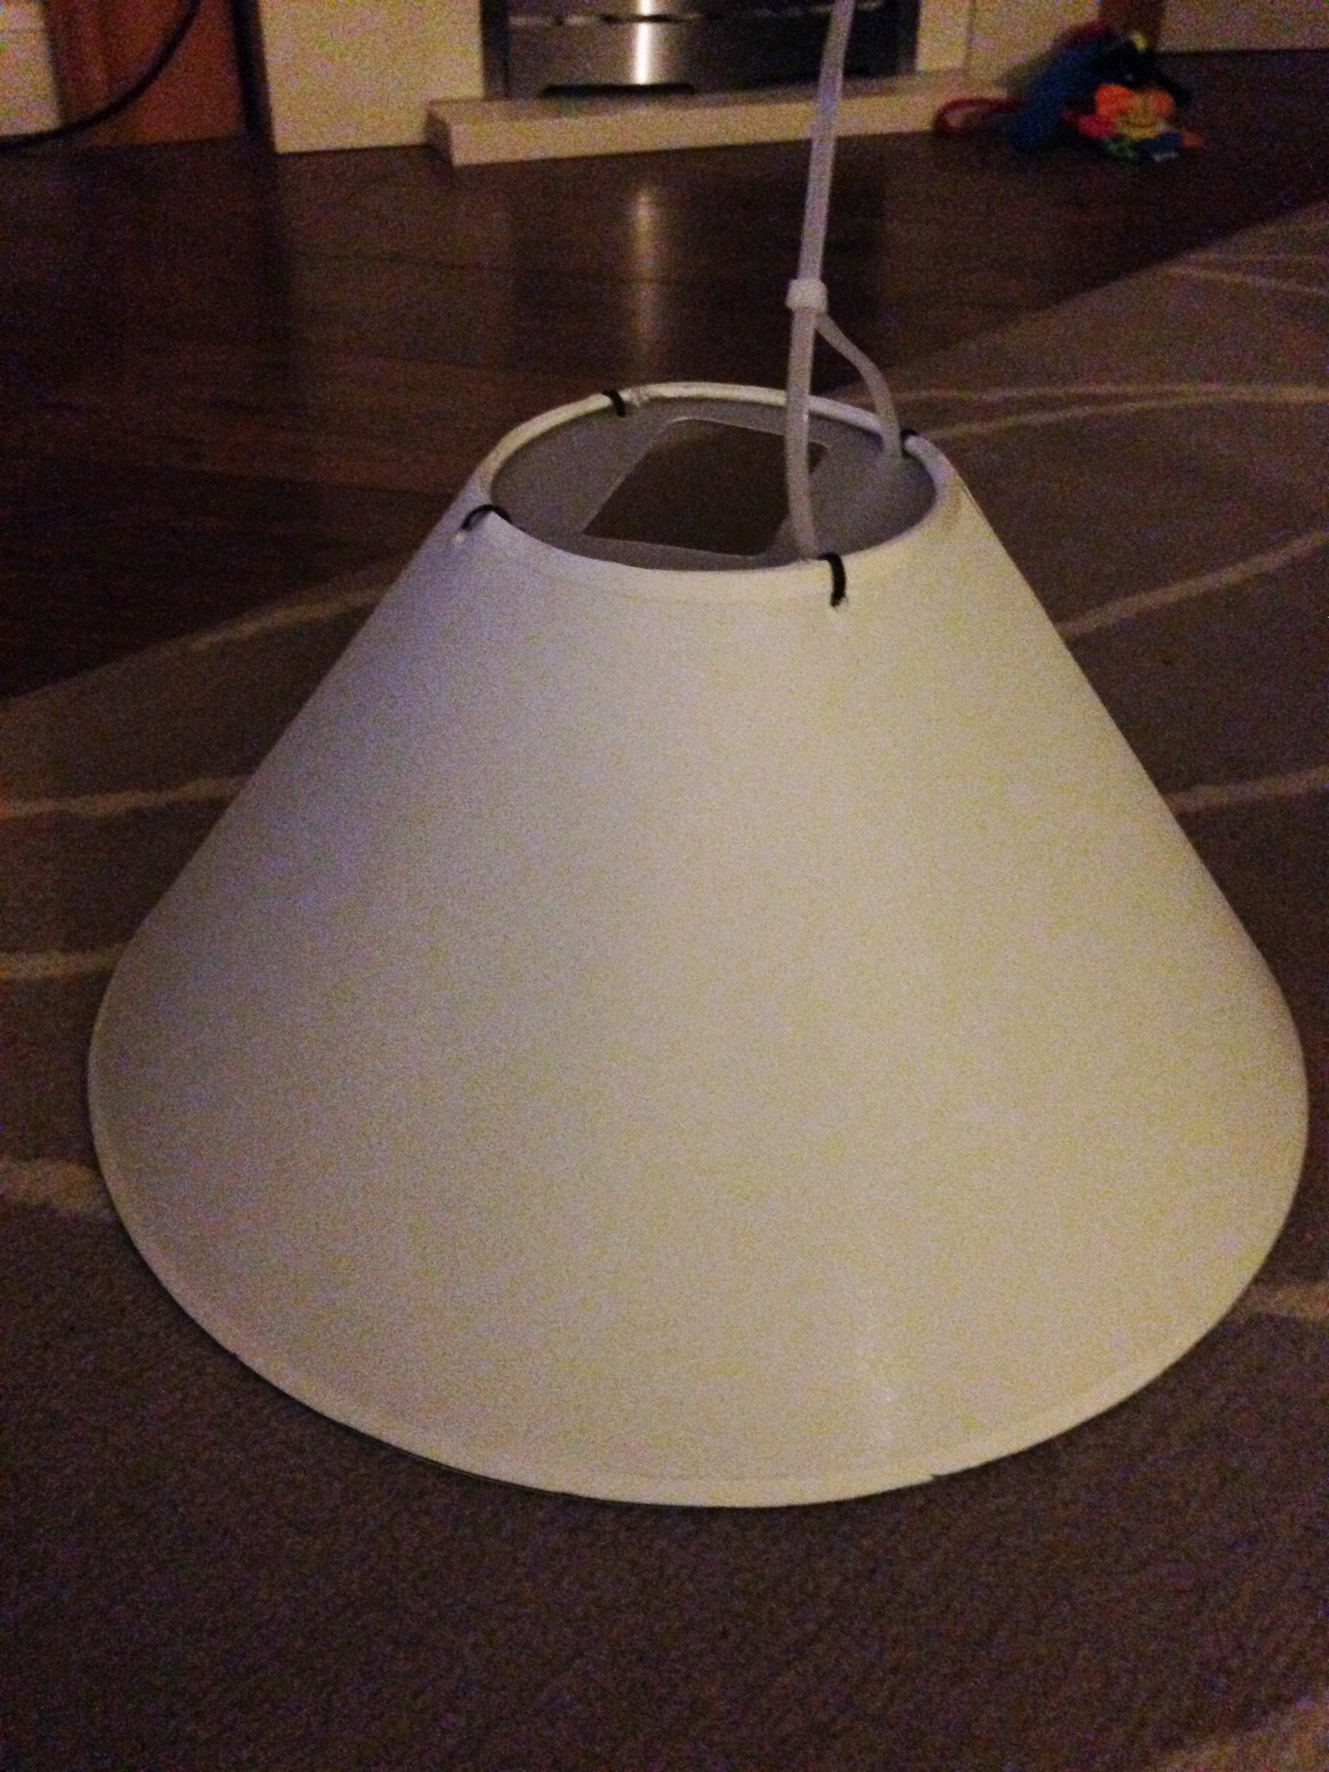
Attach the small circles to the small end with Cable ties by making small holes in the plastic and the shade.
Draw round the flash head and cut out hole with a sharp knife.
next stick double sided tape in the inside of the shade, making sure that the tape goes close to the end to hold the foil in place.
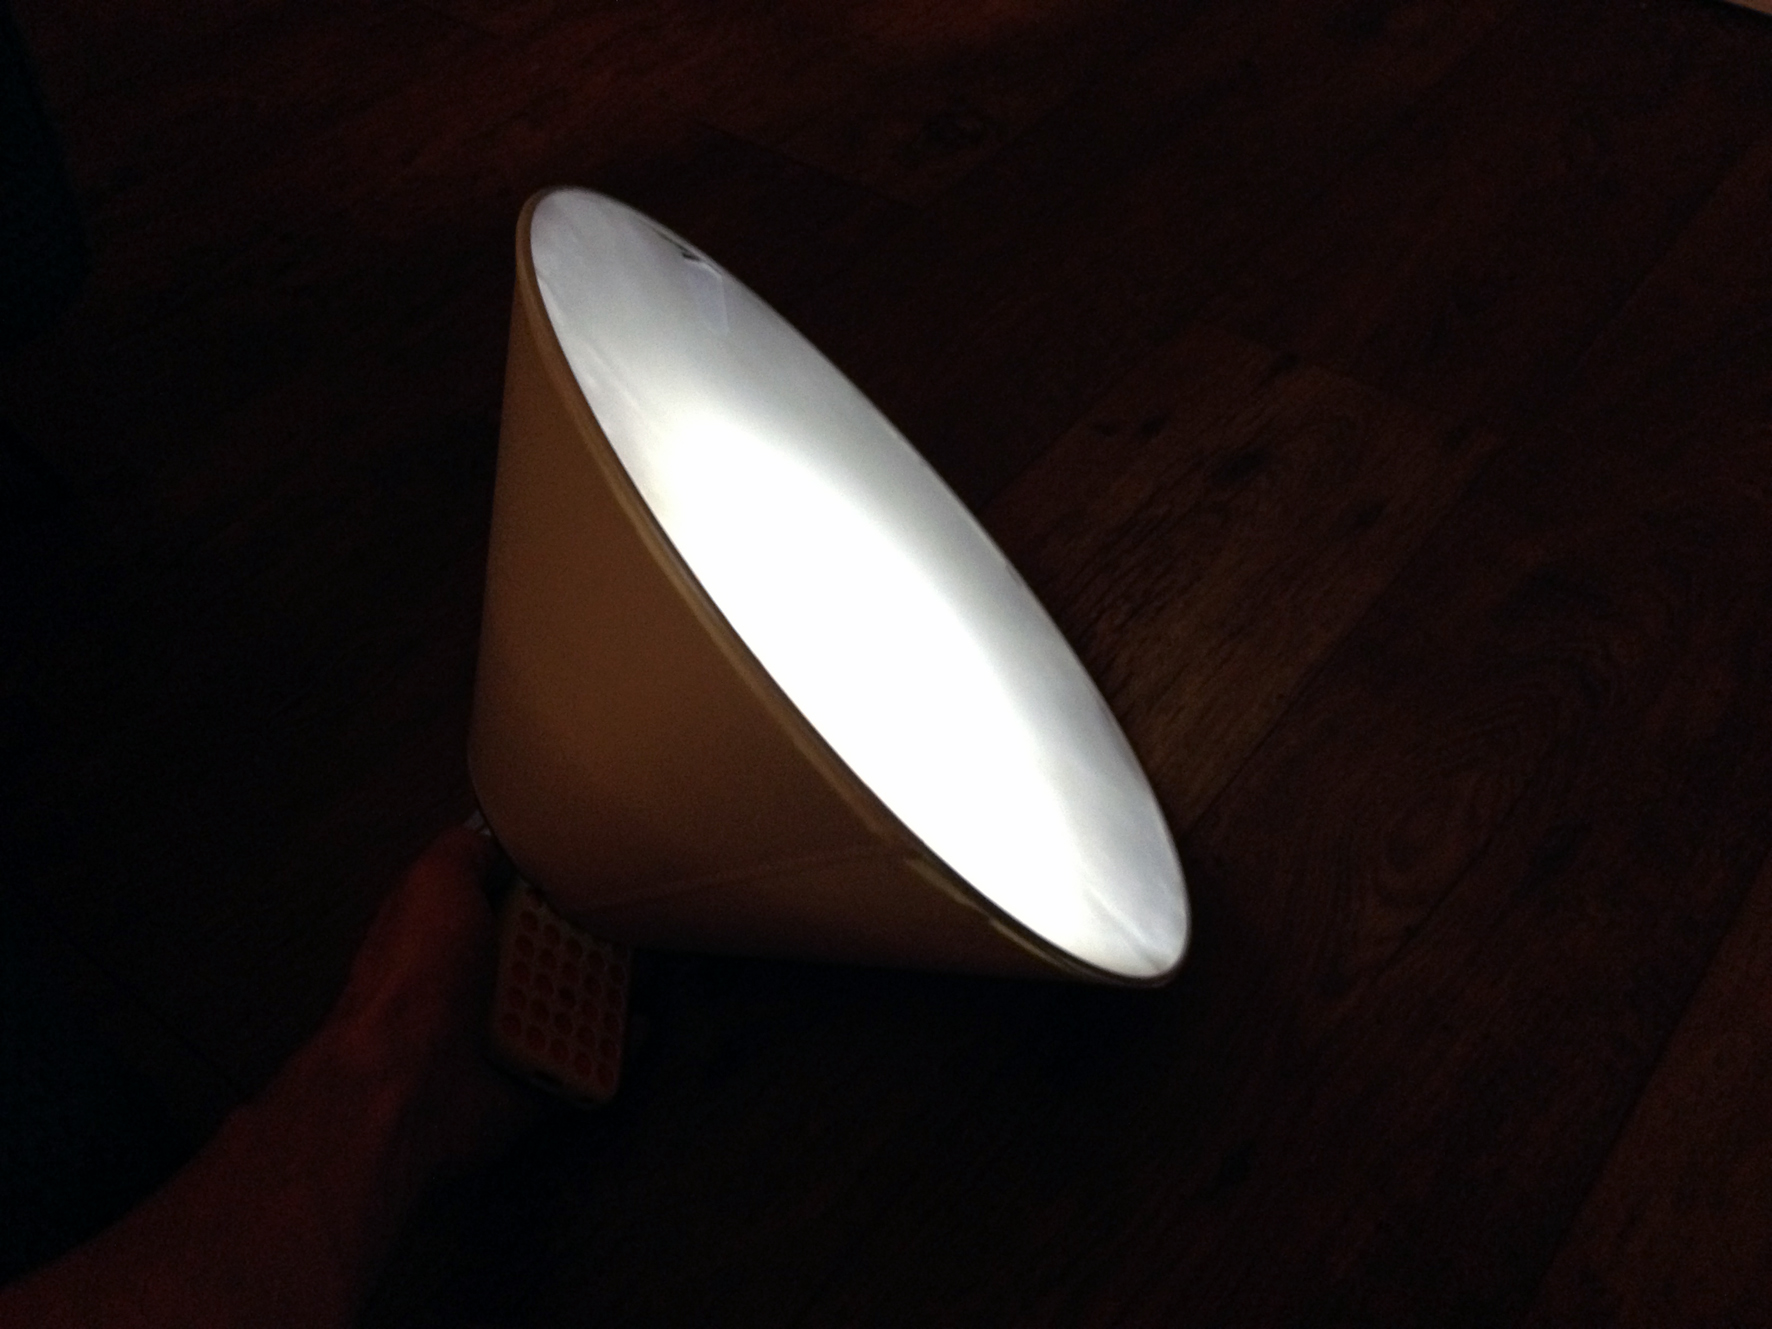
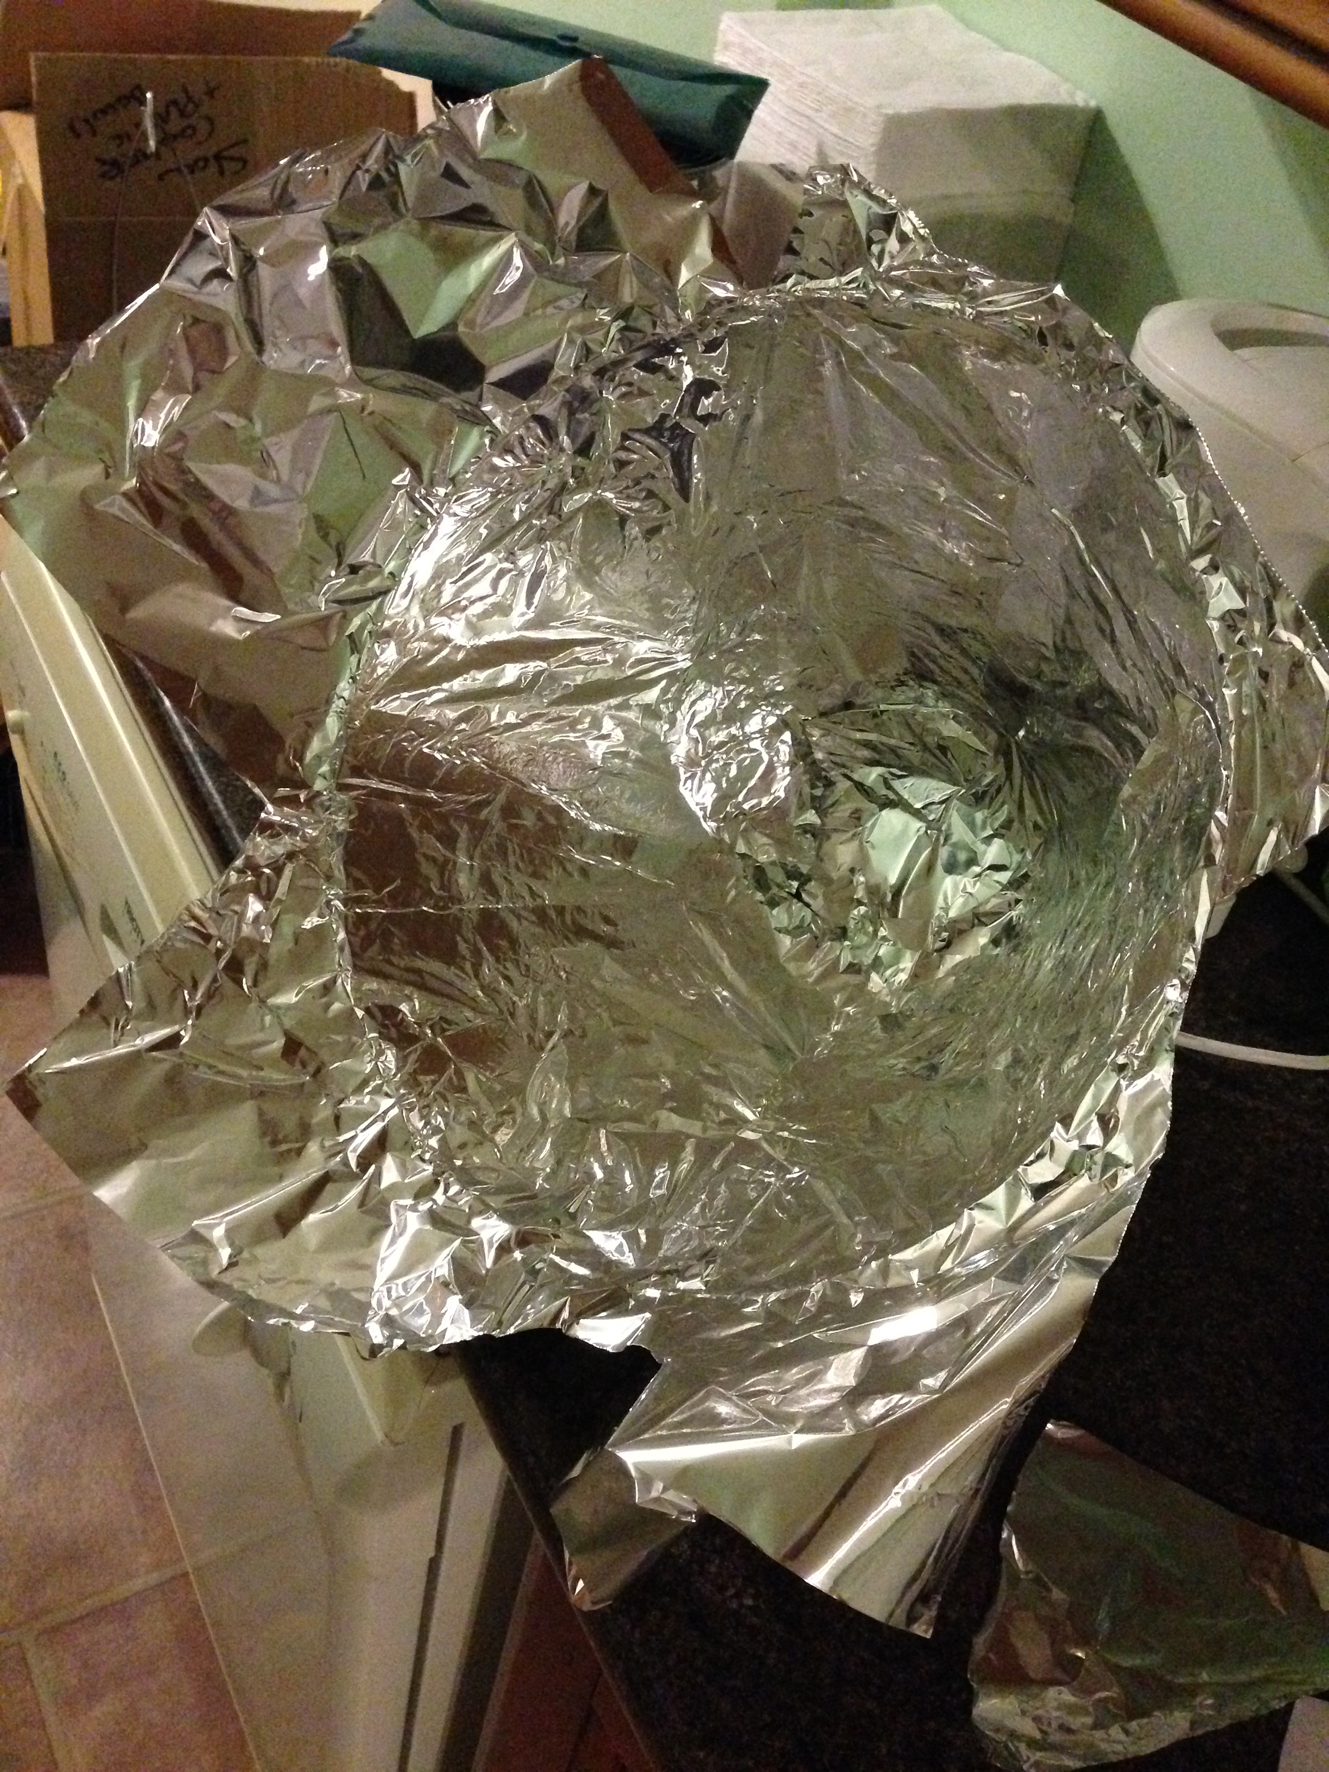
Use the kitchen foil to line the inside of the shade. This makes the light bounce off all angles and gives a wider lighting area.
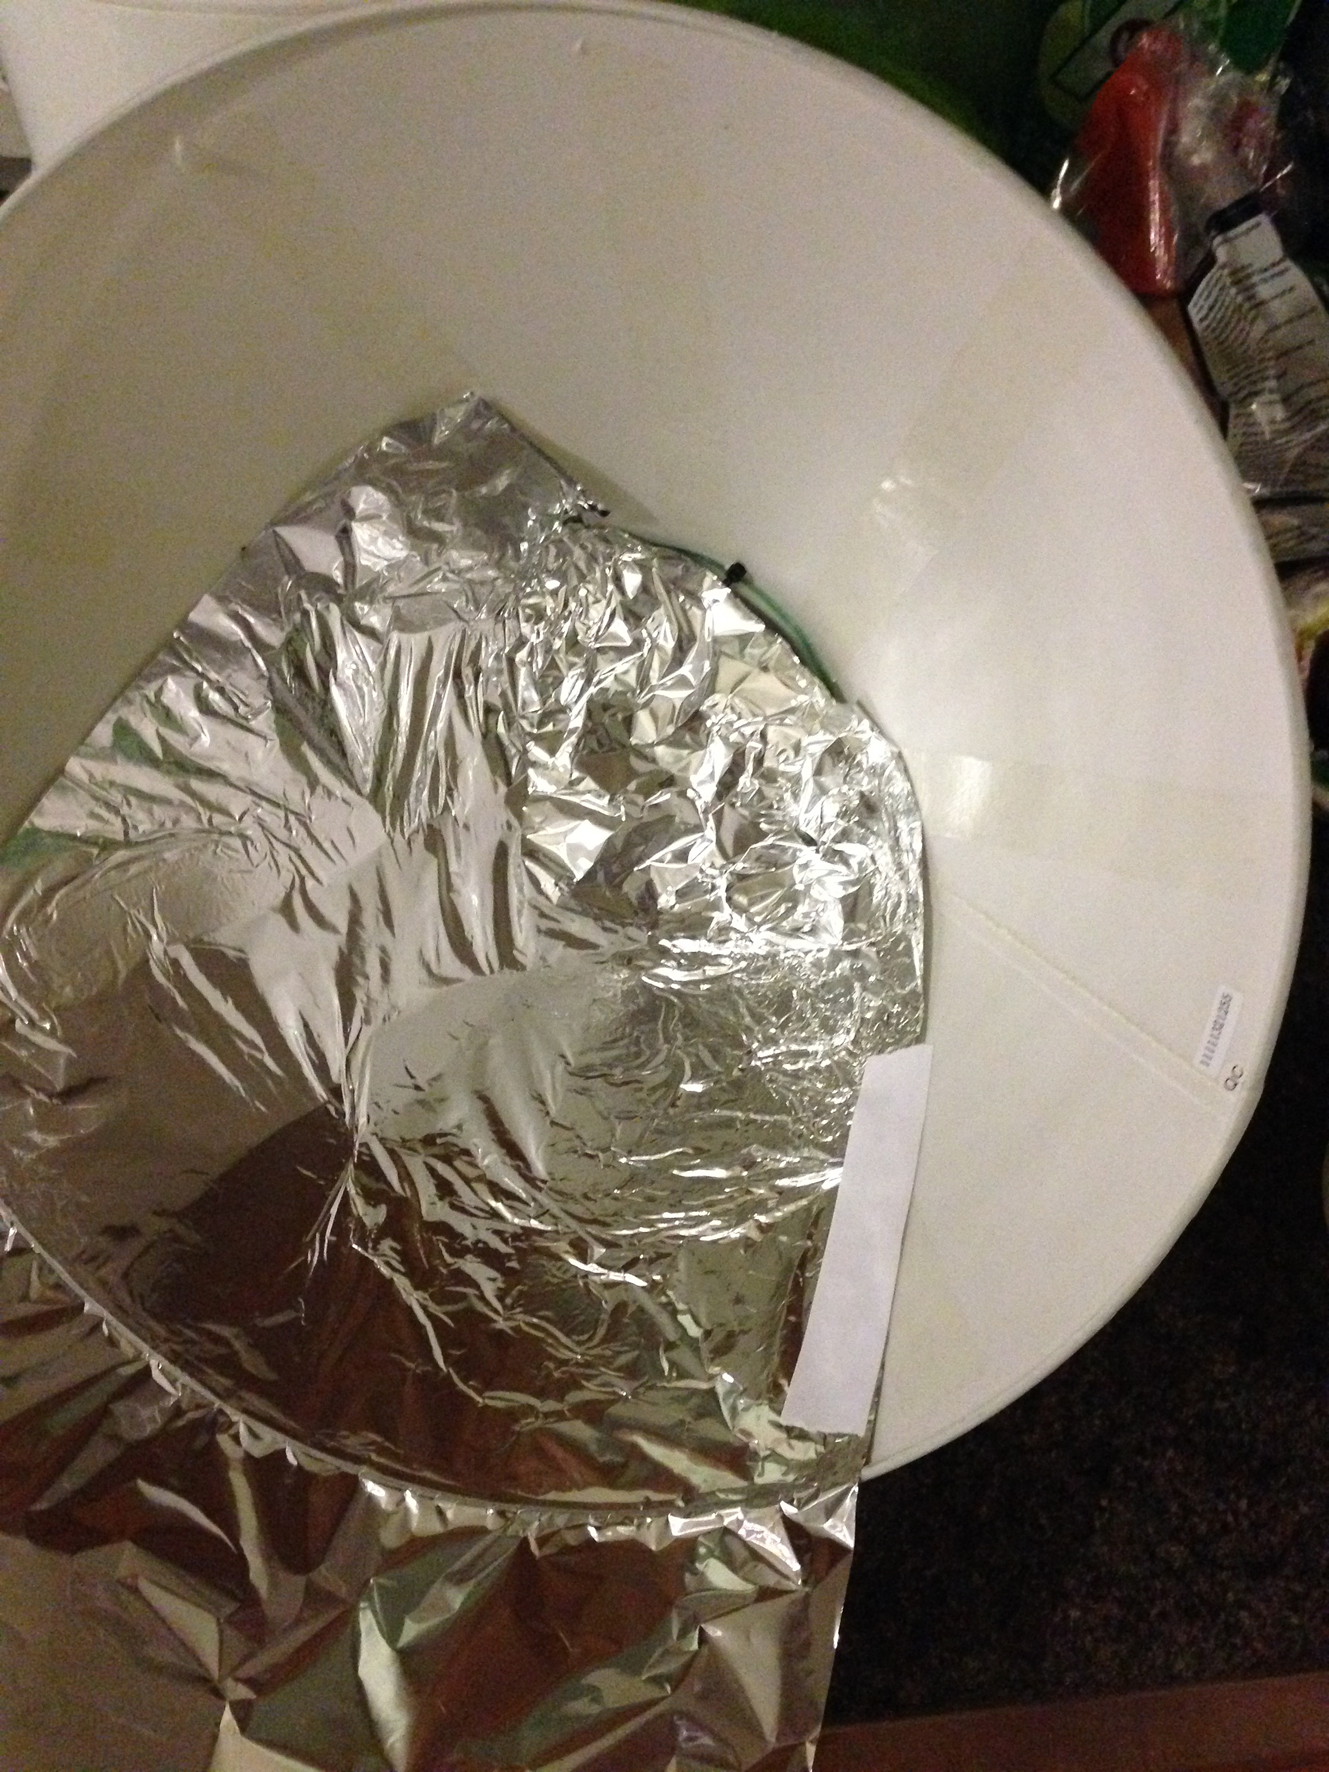
trim the extra foil with a knife, leave the metal rim free of foil as your plastic with clip in to this ring which will keep it in place.
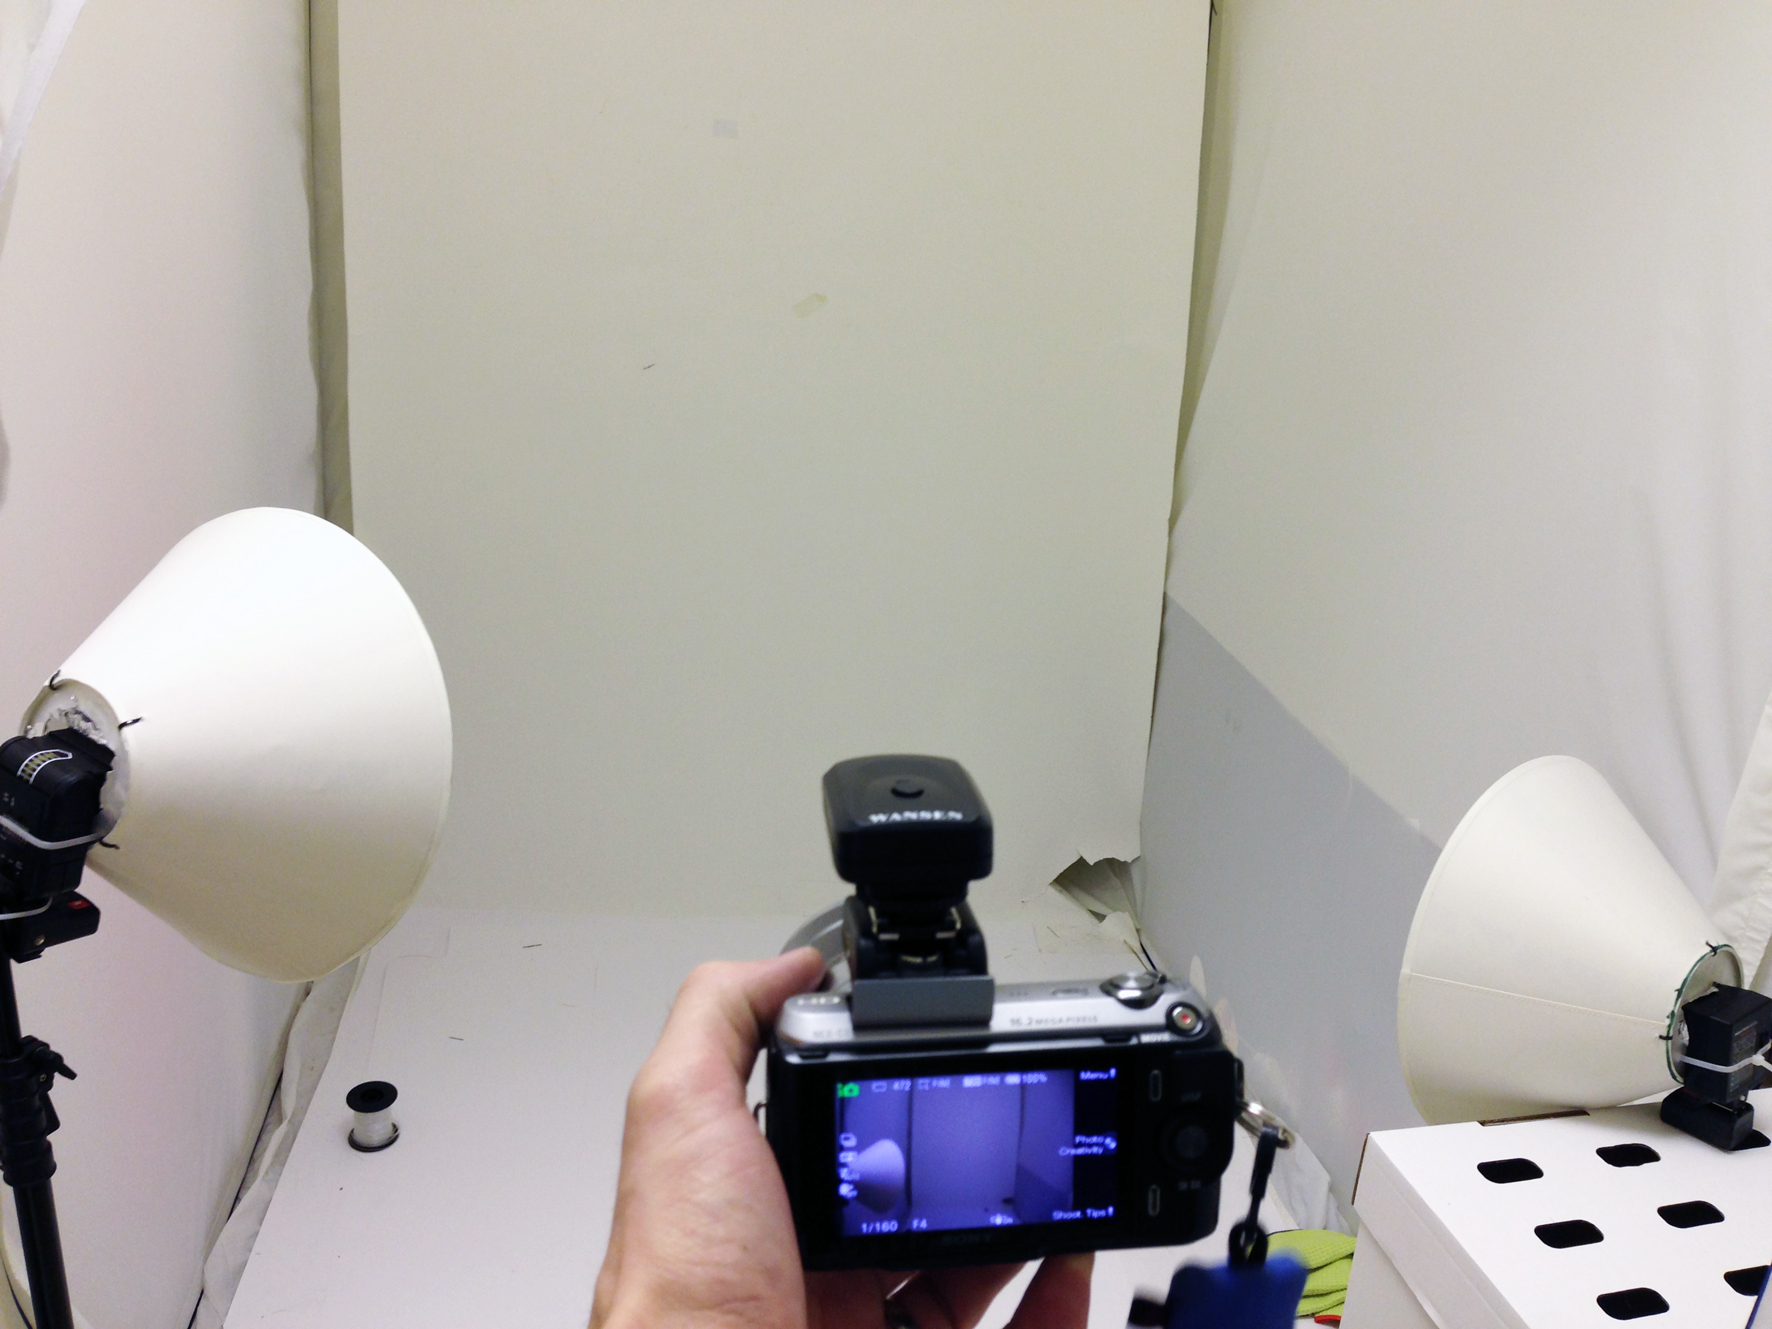
i have used cable ties to keep the flash guns in place but something you can undo would work better allowing you to take the flash gun in and out of the softbox.
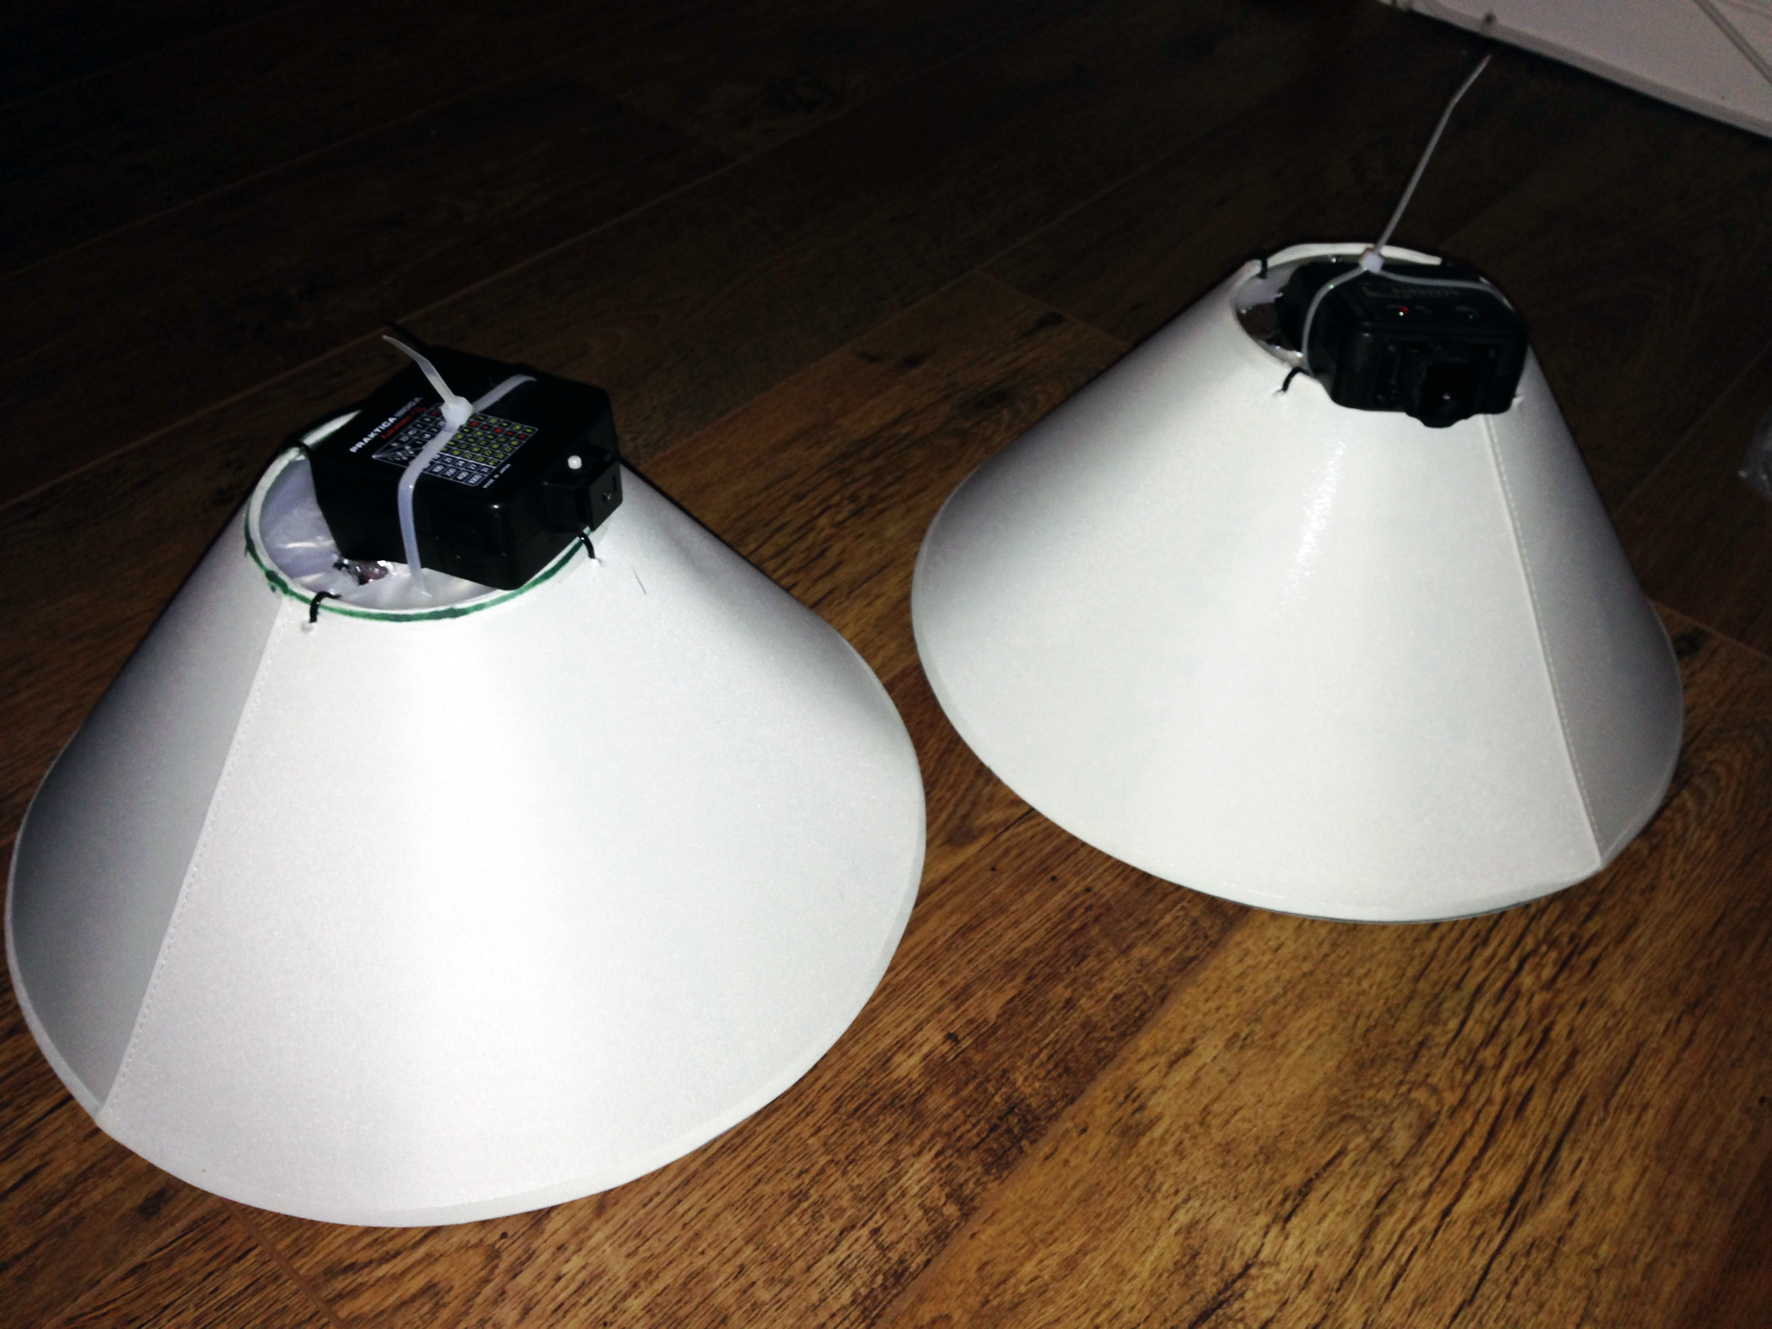
Add a wireless trigger system (these can be got for £10-£15 off Ebay or Amazon) and these work well, so if you want to have a go at studio photography put don’t want to spend lots at the start. Try this simple idea with some cheap SLR Flash Guns. You can then get a feel and also work out how best to use them.