A tribute…

As of this year is is 100 years since that start of World War 1 (The Great War). In the UK there is a lot of programmes being shown about the War from all different angles. the last one i have seen was on War Time Photography on the BBC Click Here to watch (please note this link will only work for a while and only in the UK).

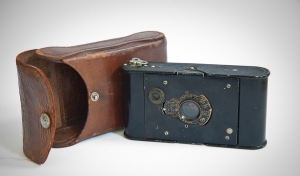
On the programme they touch on one of the cameras the soldiers used while on the front line, the Vest Pocket Kodak camera. here is a bit about the Camera

original

The Vest Pocket Autographic Kodak was a version advertised as “Soldier’s camera” during WWI. It was manufactured from 1915 to 1926, sold 1,750,000 times. It was of the compact strut folding type and had the meniscus lens or a U.S.-speed 8 Rapid Rectilinear. Its camera back had an area through which notes could be written onto the paper backing of the 127 film, the “autographic” feature – invented by Henry J. Gaisman. Vest Pocket Autographic Special models were equipped with selected f/6.9 and f/7.7 lenses of Kodak, Bausch & Lomb, Zeiss, Ross, Berthiot or Cooke, mainly with the Kodak Anastigmat f/7.7 lens.

This Camera was small light and easy to use, you can still get your hands on one today but they are not cheap. my favorite part about the camera is the “Autographic” part allowing notes to be made about the photo. check out Ebay as you may find a gem!

retro-camera-uk-header-01.jpg

DIY: Photostrips

IMG_2329

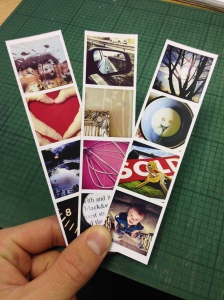
Photo strips are a simple and creative way to show your photos off.

I first pick out which photos you are going to use. You can try to make each strip have a “theme,” but I think that random ones would look just as good too.

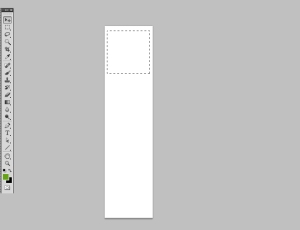
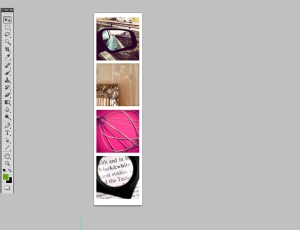
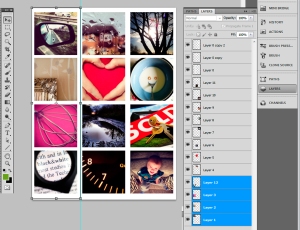
In Photoshop, I made a “template” for the Photostrip.  I made the file 1.5 inches by 6 inches.  Because not every Instagram used the same filter (and subsequently frame), I also went ahead and made skinny strips of white for the borders.

Instant StripsInstant Strips 2

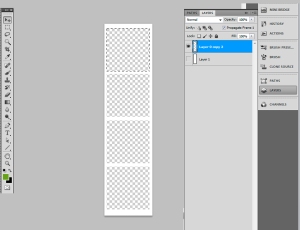
Can you see the white borders?  I created a square and duplicated the shape so it maintained the same width.
Once I had the template for the border, I just placed four of the photos onto the file.  I arranged each so it was under the border and in an interesting order.
Instant Strips 3
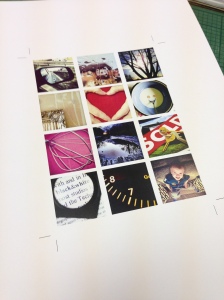
I repeated that process for the other strips and kept re-saving them.  I would just delete the pictures from before, add the new ones, and then click Save As.  Once all three strips were created, I made a new file.  This time, I made it 4.5 inches by 6.  I added all the other files into this one to I could be more efficient in the printing.  (You can definitely fit a lot more than three strips per page… Print landscape and add as many as you wish!)
Instant Strips 4IMG_2328
The next step is to cut them in to separate the strips.
IMG_2329
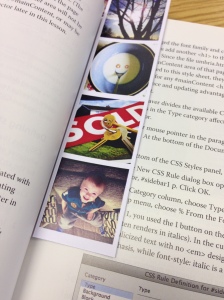
And there you go!  Fun photostrips!
What can you do with the photostrips?
IMG_2330
Give away at parties
Use as bookmarks
Hang on the wall
Write notes on the back
Make for presents
Article Sourced from www.thecollegeprepster.com
retro-camera-uk-header-01.jpg