Camera Day – Happy Snapping

here is no better day than Camera Day to snap some photos during your lunch hour, on your commute to work, or whenever a moment of inspiration strikes.

History of the Camera

Camera Obscura The first cameras were the “camera obscura” device dating back thousands of years to the Greeks and even the ancient Chinese. The device was much like a pinhole camera and often used to project an image which would be traced on paper. The first actual photograph was taken around 1814 when Nicephore Niepce used a paper coated with silver chloride and was able to record an exposure to light, but the photo wasn’t permanent. In 1827, he used a wooden camera made by Charles and Vincent Chevalier to make a more permanent photograph.Louis Deguerre worked with Joseph Nicephore Niepce to create the first real photographic camera and technique (Nicephore Niepce died before the invention was completed). In1836, the first true photograph was produced using a copper plate with silver and coated with iodine vapor. Later, other inventors began to perfect this technique and created more efficient and practical cameras using dry and wet plates, twin reflex lenses with faster shutters which shortened exposure times, and smaller, more portable cameras.

The first film cameras were introduced in 1885 by George Eastman and his newly formed Kodak company. At first, the film was a chemically coated paper, but in 1889, they began to use celluloid. Kodak also helped produce smaller, more affordable cameras. In 1900, they began to mass produce the “Brownie Box” camera which was very popular all the way up to the 1960s. The first 35mm camera was created around 1913, but wasn’t perfected and put into production until 1925. In the 1935, Kodak produced the first commercially viable color film. Since then, the 35mm camera has been changed and perfected with single reflex dominating over twin-reflex and cameras becoming easier and more compact to use. Many of the 35mm film cameras still used today haven’t changed much since the mid-1960s.

Though the elements of digital photography began in the late 60s/early 70s, it wasn’t perfected enough for mass use until late 80s/early 90s. Most of these cameras were low-resolution until after the mid-2000s when resolutions and digital lens technology began reach and succeed the level of quality similar to the 35mm camera.

Photo: 18th century Camera Obscura from Wikimedia Commons.

History article from: http://www.squidoo.com
retro-camera-uk-header-01.jpg

DIY – Photo Backdrop

Over the passed few months i have been looking at all the options for photography Portrait backdrops. Like most things there are lots of options and range in price.

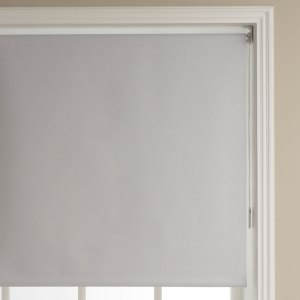
As i like to try things out before spending an arm and a leg on kit, i searched for tips and ideas of DIY backdrops. i found a brief note on a forum about using a roller blind as a backdrop, this was a good idea as you can pick up a wide roller blind for about £20. Also most are wipe clean and the blackout type are thick and provide a good base and all can be wall mounted if required.

0327098_l


The disadvantage of a  standard shop roller blind is the length is only around 160cm, this is fine for Baby,Toddler and small child as you can have them sitting up standing up.


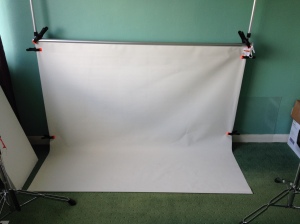
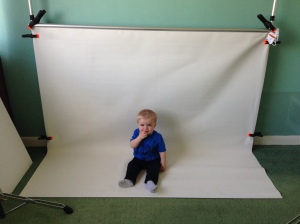
Here are some very quick image i took while setting up, (i did not have my camera to hand so used a Iphone). as you can see you will need to find the correct height and position where you do not get the blind starting to fold.

IMG_3021 IMG_3019 IMG_3010

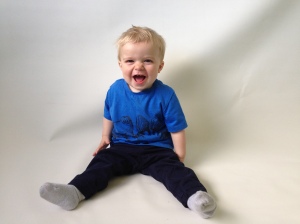
This is a good and cheap thing to try out if you are starting out in Portrait Photography.

retro-camera-uk-header-01.jpg

Happy Worldwide Pinhole Photography Day

What is the Worldwide Pinhole Photography day?

This is an international event created to promote and celebrate the art of pinhole photography.On this unique day, we encourage people throughout the world

  • to take some time off from the increasingly technological world we live in and to participate in the simple act of making a pinhole photograph.
  • to share their visions and help spread the unusual beauty of this historical photographic process.

for more information visit here

To make a camera like below visit here for a step by step guide

Pin Hole Camera

retro-camera-uk-header-01.jpg

DIY Softbox – Lamp Shades

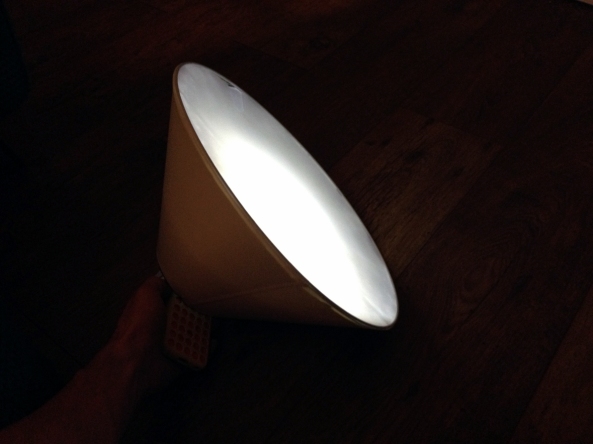
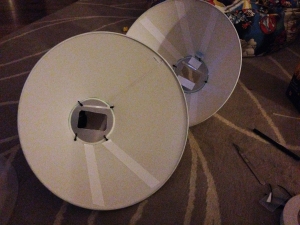
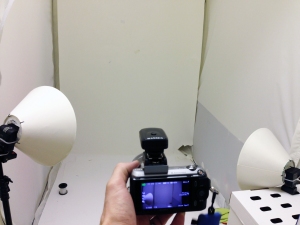
Here is how i made my Lamp Shade Softboxes,

IMG_2856


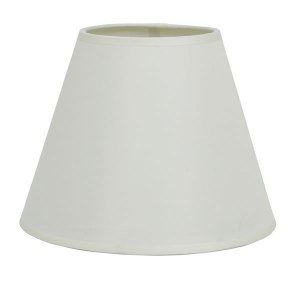
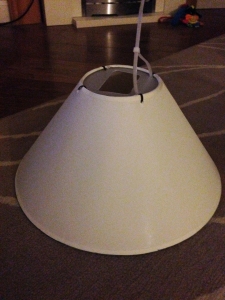
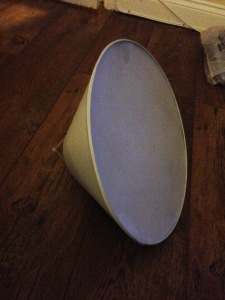
I started off with 2 cheap lamp shades which i got from Wilkinsons (house and Diy Store). these cost £4 each and where the biggest size and cheapest ones. These are a nice size with the large part measuring at 360mm.

0119704_l

The items i used where:

Lampshades x2

double sided tape

kitchen Foil

Frosted Plastic Sheet (thin white card would work also)

Cable Ties


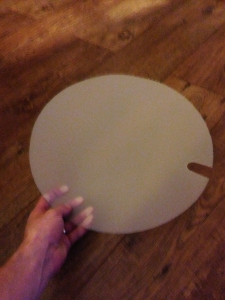
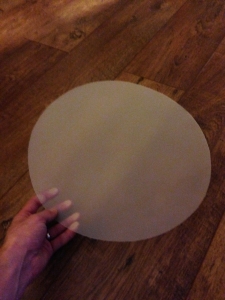
I started by drawing the circle ends, for the large end i have done 2 for each shade, one having a cut out so i can take it in and out and add paper between to soften the  light more if needed.

IMG_2853 IMG_2852

Attach the small circles to the small end with Cable ties by making small holes in the plastic and the shade.

Draw round the flash head and cut out hole with a sharp knife.

IMG_2849


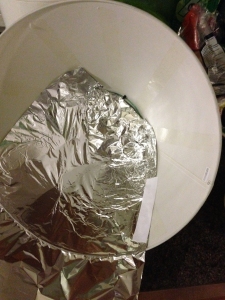
next stick double sided tape in the inside of the shade, making sure that the tape goes close to the end to hold the foil in place.

IMG_2848

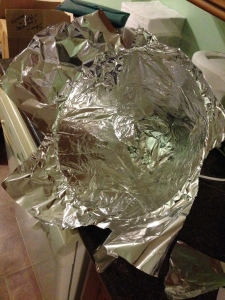
Use the kitchen foil to line the inside of the shade. This makes the light bounce off all angles and gives a wider lighting area.

IMG_2851


trim the extra foil with a knife, leave the metal rim free of foil as your plastic with clip in to this ring which will keep it in place.

IMG_2850


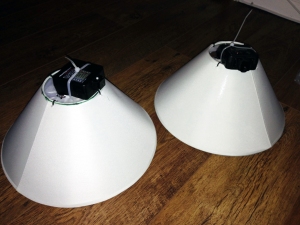
i have used cable ties to keep the flash guns in place but something you can undo would work better allowing you to take the flash gun in and out of the softbox.

IMG_2858 IMG_2854

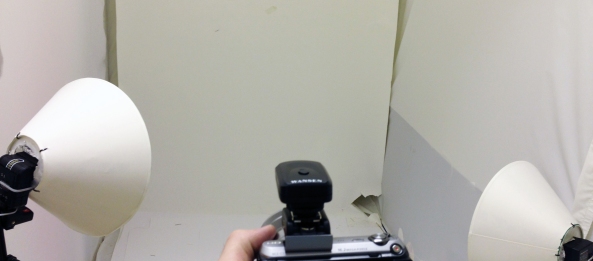
Add a wireless trigger system (these can be got for £10-£15 off Ebay or Amazon) and these work well, so if you want to have a go at studio photography put don’t want to spend lots at the start. Try this simple idea with some cheap SLR Flash Guns. You can then get a feel and also work out how best to use them.

IMG_2863


retro-camera-uk-header-01.jpg


How to Modify 120 Film for a 620 Film Camera

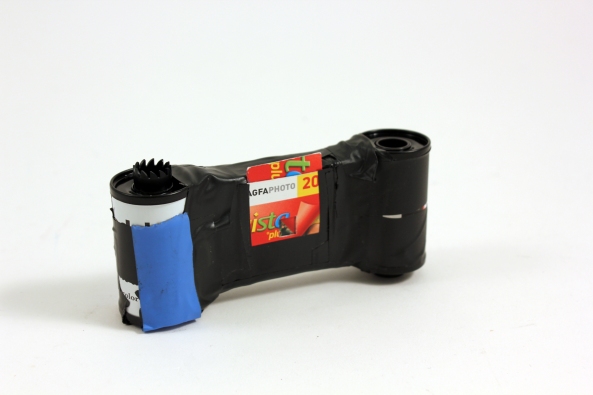
Recently i have bought some 620 film which is 120 film re-spooled on to a 620 film spool. This film is not cheap as it ranges from £5 to £6, when 120 can range from £3 to £5. so i found how to make 120 film fit. my problem was i needed a 620 spool to take the film. so here is how i reduced a 120 spool to fit a 620 camera. (this can be done with 120 film to us in a 620 camera).

IMG_2799[1]IMG_2800[1]

So, what do you need?

  • a 120 spool (a roll of unexposed 120 film on a plastic spool)
  • a metal file, or coarse sandpaper
  • sharp scissors (nail scissors are good)
  • newspaper or something similar to protect your work space
  • about half an hour of spare time

IMG_2801[1]


It helps if you have a 620 spool (your old camera might have a blank take-up spool still left in it!), just to give you have something to compare your modified 120 spool with, but it’s not critical.

Start by putting down newspaper (or something similar) to protect your work surface – filing down the plastic creates a lot of really fine plastic dust, and it can get pretty dusty and messy.

IMG_2802[1]

Take your roll of 120 film, and starting on the flat end of the spool, just start filing! I prefer using a metal file, because I feel like I have a bit more control about the pressure and direction of my filing, but course sandpaper will work fine too.

IMG_2803[1]

Once this flat end has been thinned out enough, take the nail scissors and trim around the edges of the spool. You can use your file or sandpaper on the edges. I believe that some 620 cameras like the Brownie Hawkeye won’t require this step, as they can accommodate wider spools, but most will.
 

Then turn the film over, and file and trim the other end of the spool! It only takes me about half an hour to finish modifying a 120 spool film.


Once you think the edges have been filed down enough, take the roll to the nearest sink or outside, and blow and brush away any of the plastic dust that is still clinging to the spool/film. Try to get as much of the dust off your roll – you don’t want any dust getting in the way of your photos (or maybe you do – it might create some interesting effects…)

IMG_2804[1] IMG_2805[1]

Before you pack everything away, pop the modified film into your camera, and check that it turns freely and smoothly – you really don’t want to get two or three shots into your roll before you realise you haven’t filed the roll down far enough and it’s really too stiff to keep turning at all.


retro-camera-uk-header-01.jpg


A tribute…

As of this year is is 100 years since that start of World War 1 (The Great War). In the UK there is a lot of programmes being shown about the War from all different angles. the last one i have seen was on War Time Photography on the BBC Click Here to watch (please note this link will only work for a while and only in the UK).

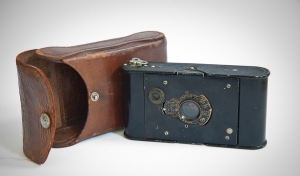
On the programme they touch on one of the cameras the soldiers used while on the front line, the Vest Pocket Kodak camera. here is a bit about the Camera

original

The Vest Pocket Autographic Kodak was a version advertised as “Soldier’s camera” during WWI. It was manufactured from 1915 to 1926, sold 1,750,000 times. It was of the compact strut folding type and had the meniscus lens or a U.S.-speed 8 Rapid Rectilinear. Its camera back had an area through which notes could be written onto the paper backing of the 127 film, the “autographic” feature – invented by Henry J. Gaisman. Vest Pocket Autographic Special models were equipped with selected f/6.9 and f/7.7 lenses of Kodak, Bausch & Lomb, Zeiss, Ross, Berthiot or Cooke, mainly with the Kodak Anastigmat f/7.7 lens.

This Camera was small light and easy to use, you can still get your hands on one today but they are not cheap. my favorite part about the camera is the “Autographic” part allowing notes to be made about the photo. check out Ebay as you may find a gem!

retro-camera-uk-header-01.jpg

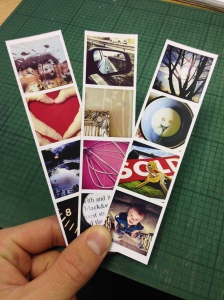
DIY: Photostrips

IMG_2329

Photo strips are a simple and creative way to show your photos off.

I first pick out which photos you are going to use. You can try to make each strip have a “theme,” but I think that random ones would look just as good too.

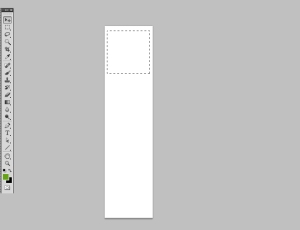
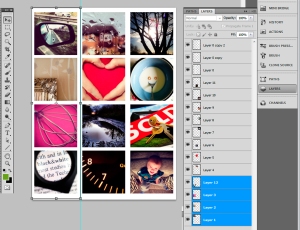
In Photoshop, I made a “template” for the Photostrip.  I made the file 1.5 inches by 6 inches.  Because not every Instagram used the same filter (and subsequently frame), I also went ahead and made skinny strips of white for the borders.

Instant StripsInstant Strips 2

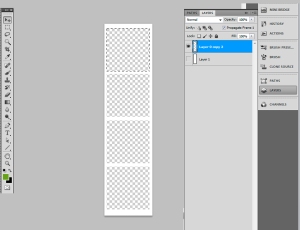
Can you see the white borders?  I created a square and duplicated the shape so it maintained the same width.
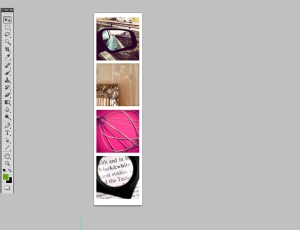
Once I had the template for the border, I just placed four of the photos onto the file.  I arranged each so it was under the border and in an interesting order.
Instant Strips 3
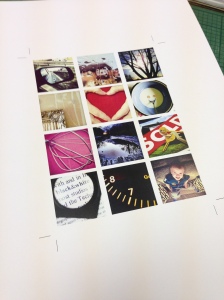
I repeated that process for the other strips and kept re-saving them.  I would just delete the pictures from before, add the new ones, and then click Save As.  Once all three strips were created, I made a new file.  This time, I made it 4.5 inches by 6.  I added all the other files into this one to I could be more efficient in the printing.  (You can definitely fit a lot more than three strips per page… Print landscape and add as many as you wish!)
Instant Strips 4IMG_2328
The next step is to cut them in to separate the strips.
IMG_2329
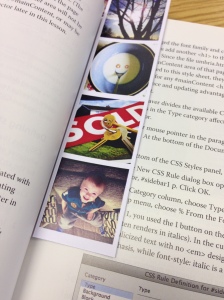
And there you go!  Fun photostrips!
What can you do with the photostrips?
IMG_2330
Give away at parties
Use as bookmarks
Hang on the wall
Write notes on the back
Make for presents
Article Sourced from www.thecollegeprepster.com
retro-camera-uk-header-01.jpg